Router Configuration
ZTE U10 — Configuration Guide
Step 1: Unboxing and SIM Installation
Begin by unpacking the device and verifying all components are present: router, battery, charging cable, and back cover.
Parts include - Router, Battery, Charge cable and back cover.
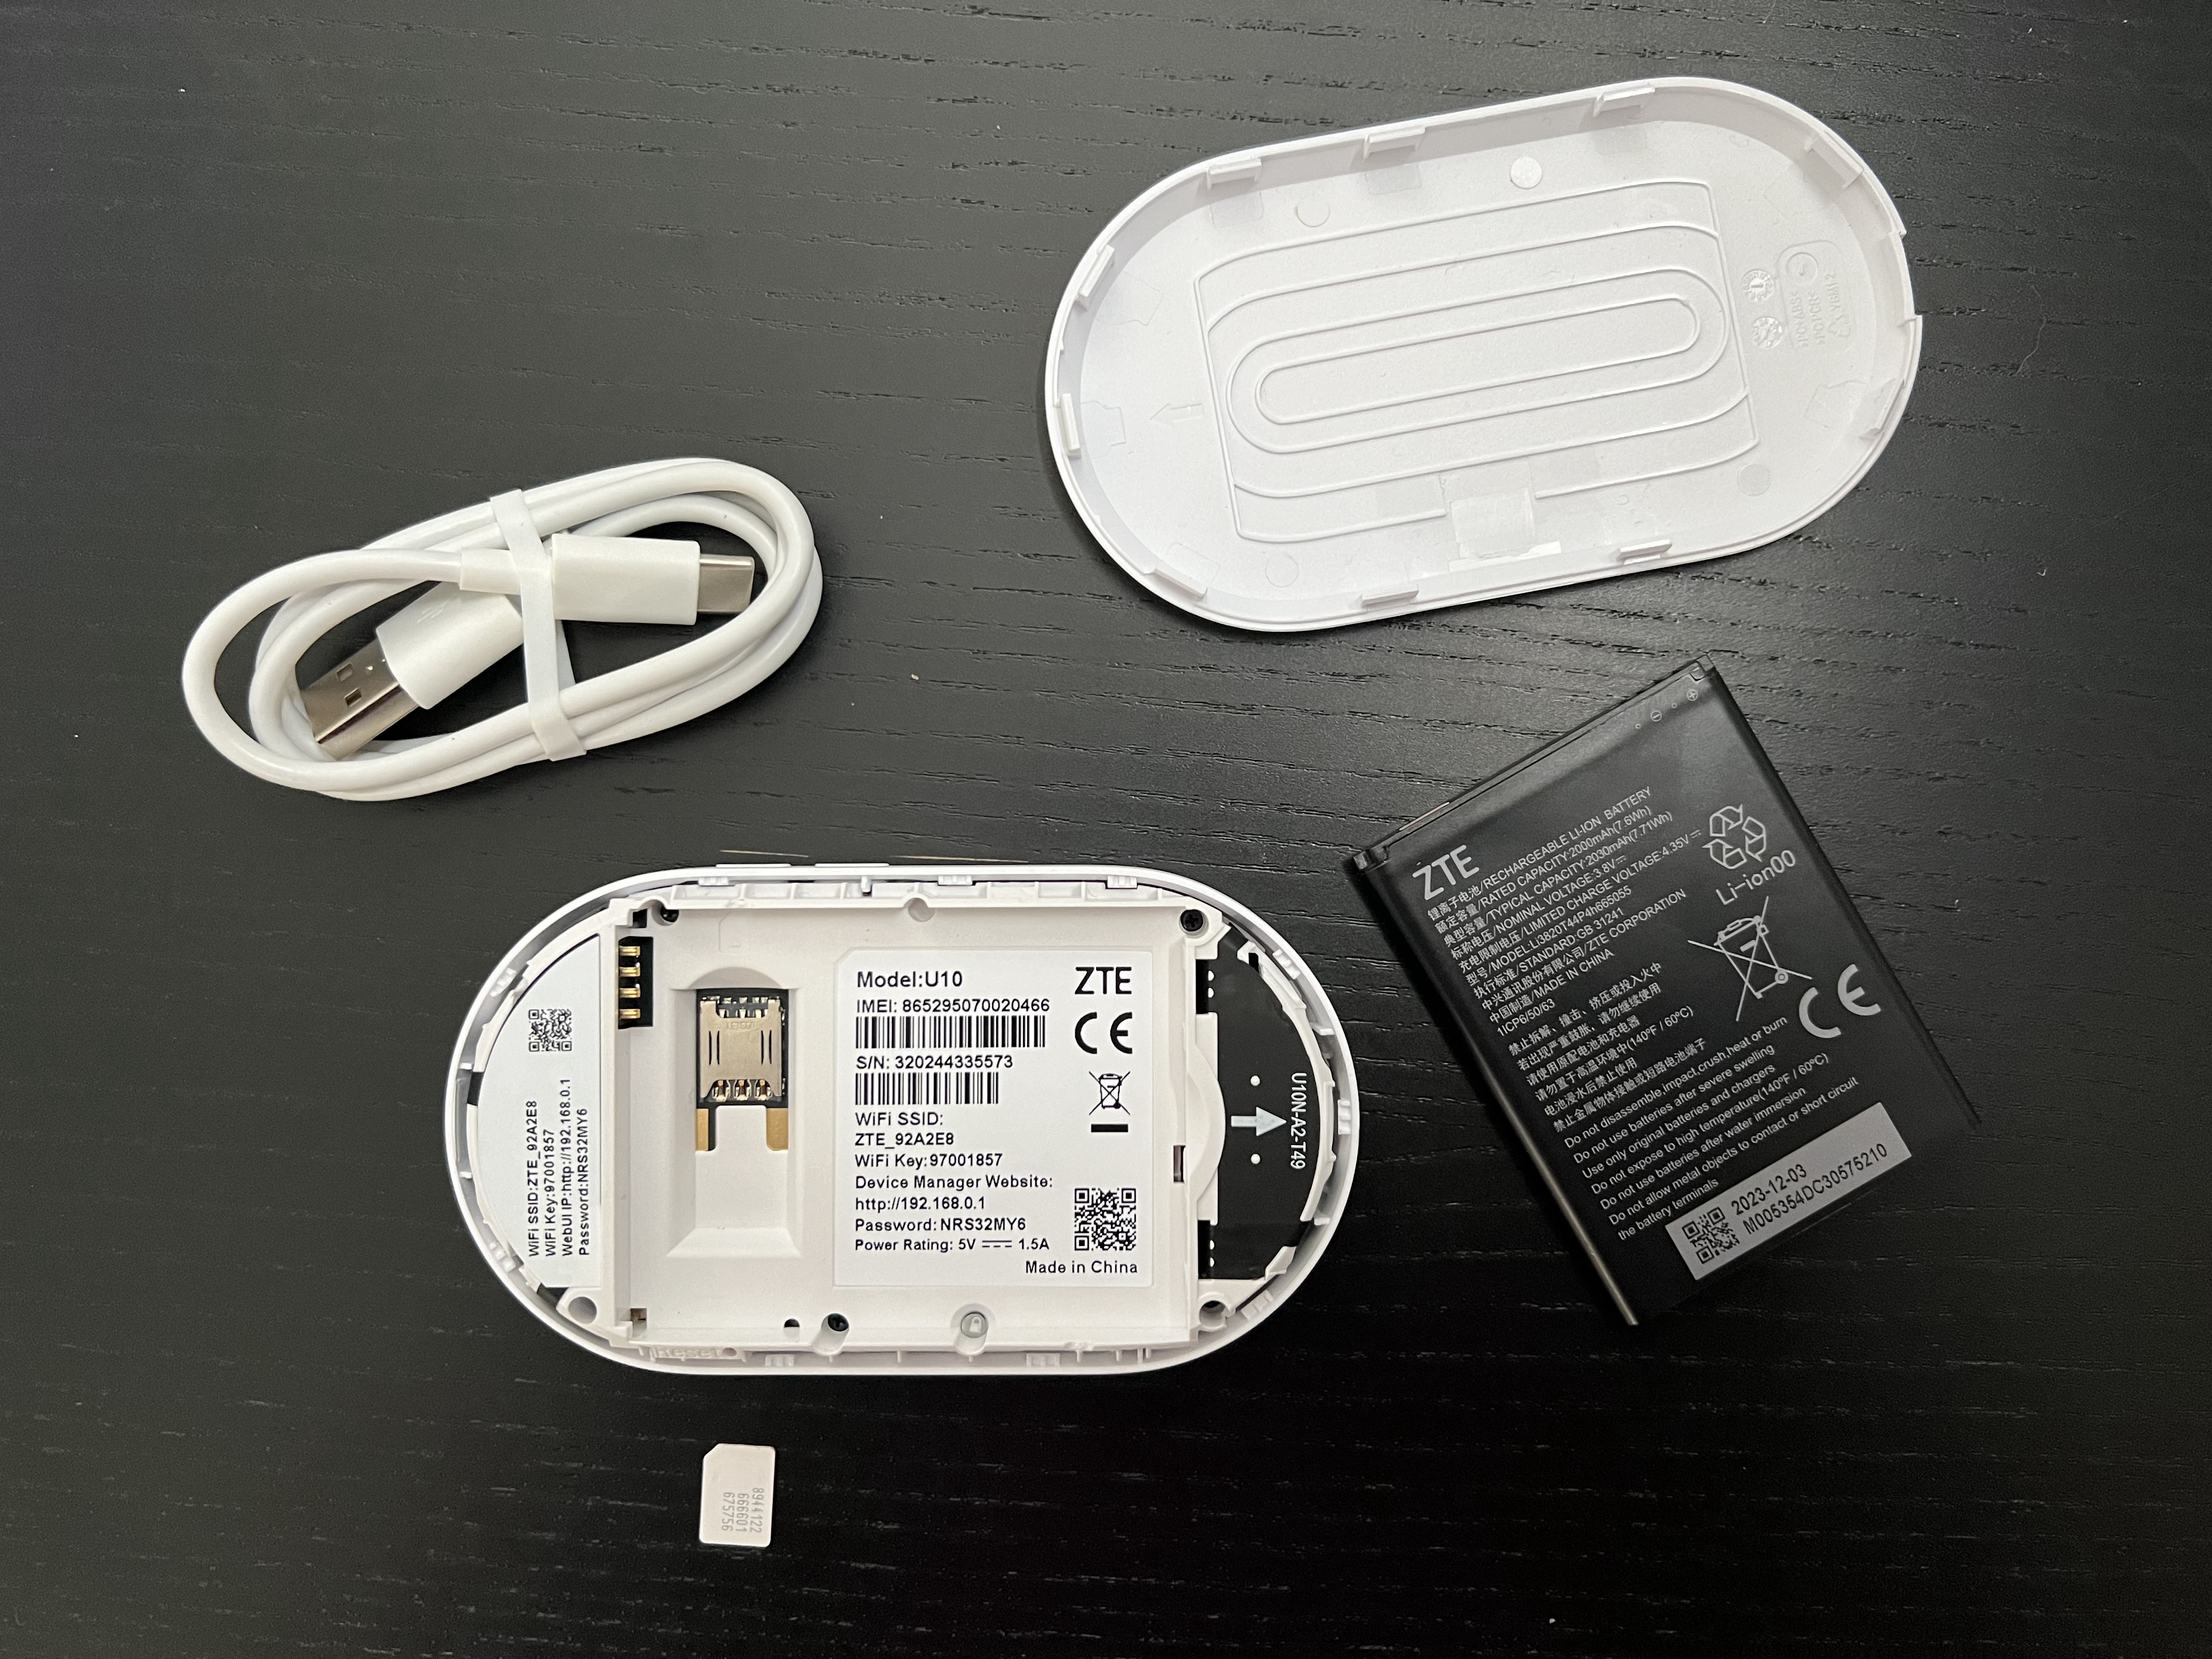
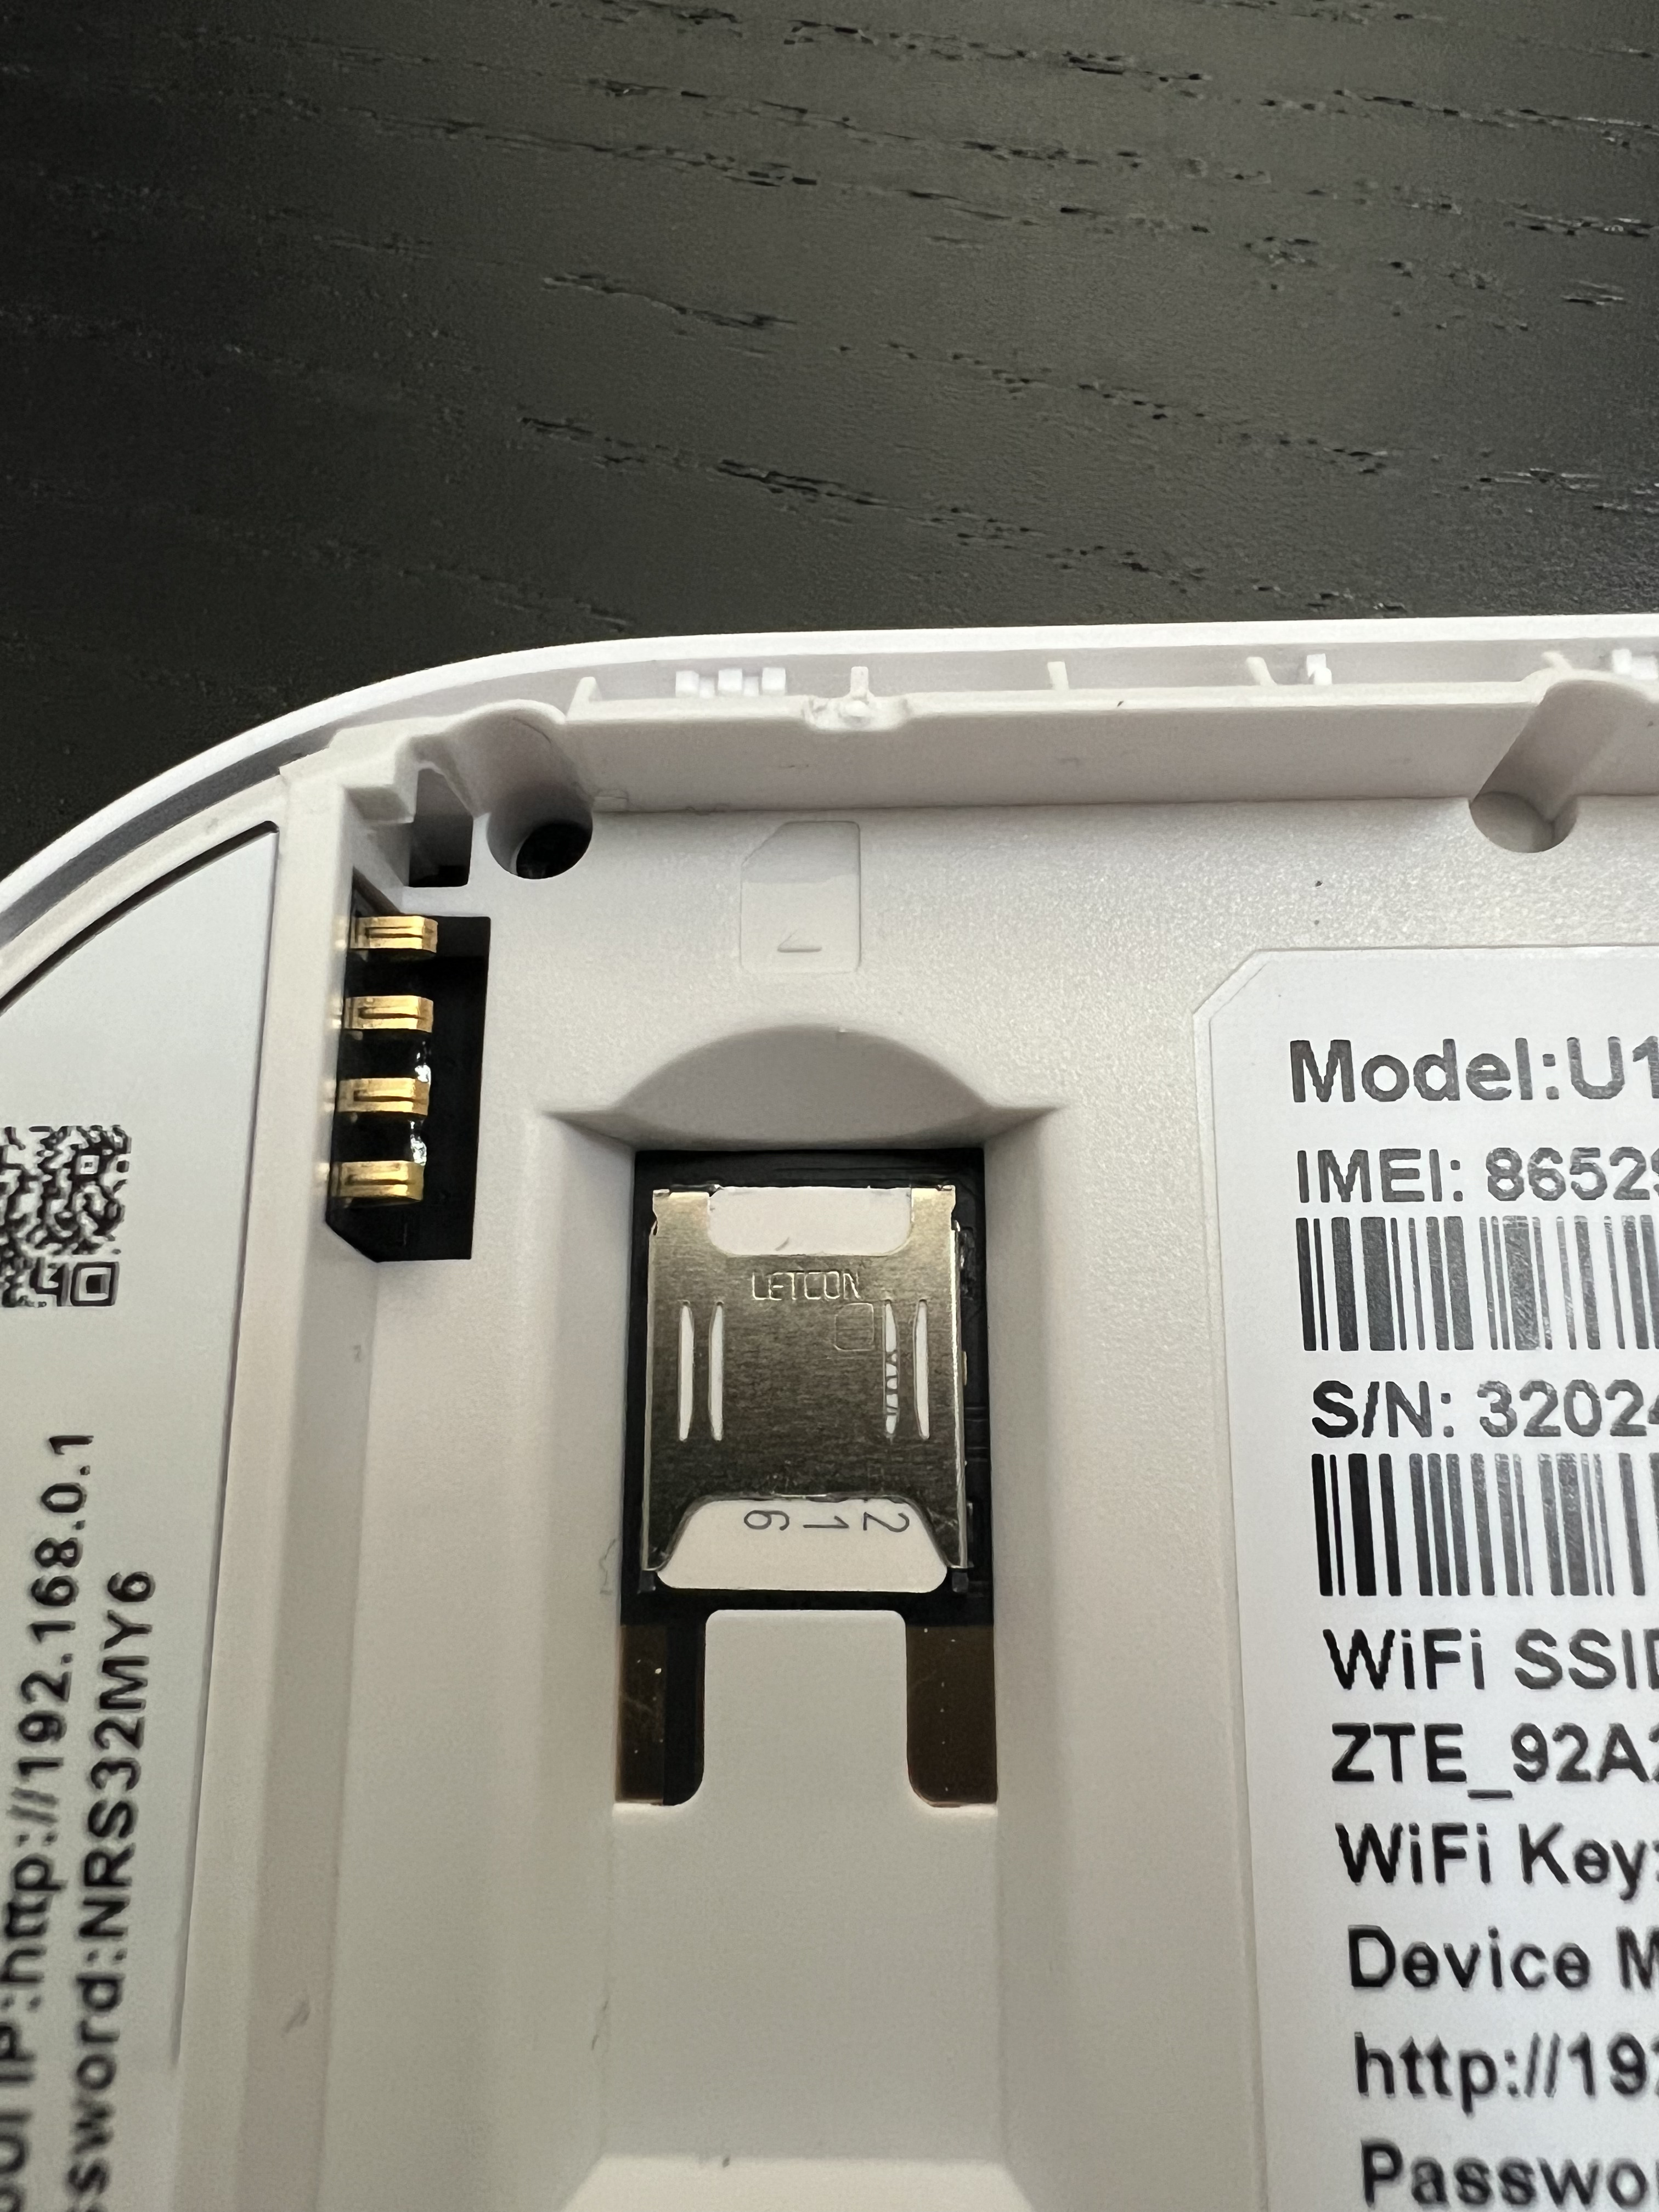
Insert a NANO SIM card into the device. The SIM has a cut corner that slides under the metal housing — it only fits one way. If you have a standard SIM, pop it down to the smallest (NANO) size using the original housing.
Step 2: Assembly and Key Information
- Insert the battery, ensuring the gold pins align properly.
- Note the information on the internal sticker.
- Replace the back cover.
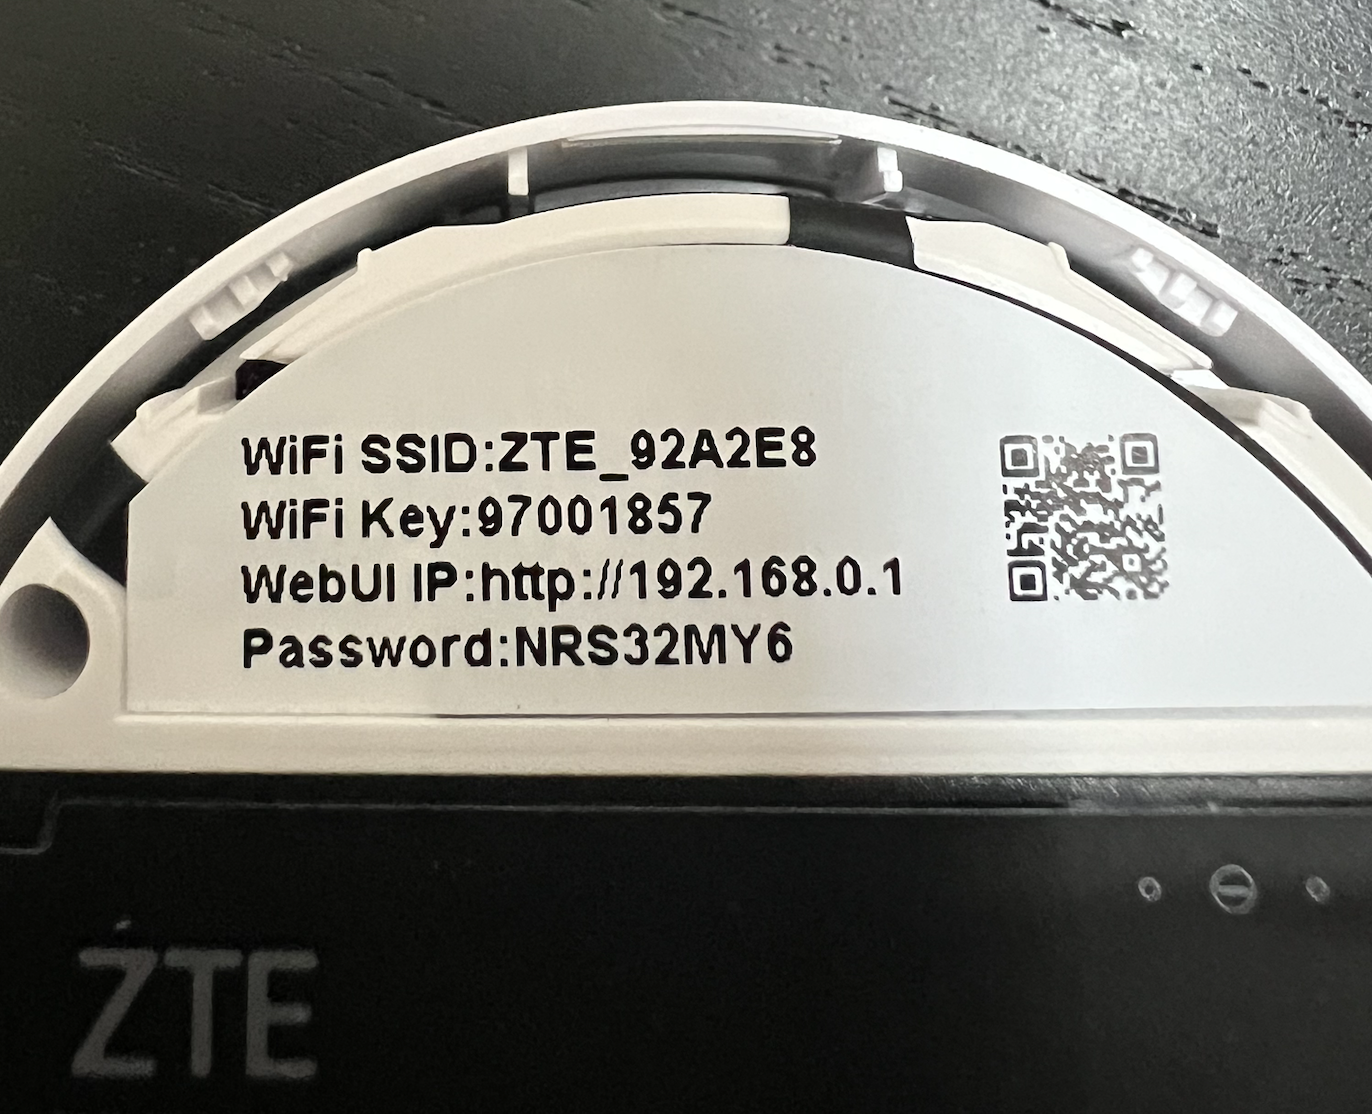
The internal sticker contains four critical details:
| Item | Description | Example |
|---|---|---|
| WiFi SSID | The wireless network name | ZTE_92A2E8 |
| WiFi Key | The wireless password for device connections | — |
| WebUI IP | Address for accessing configuration settings | http://192.168.0.1 |
| Password | Admin credentials for device login (case-sensitive); distinct from WiFi password | — |
Step 3: Power On and Connect to WiFi
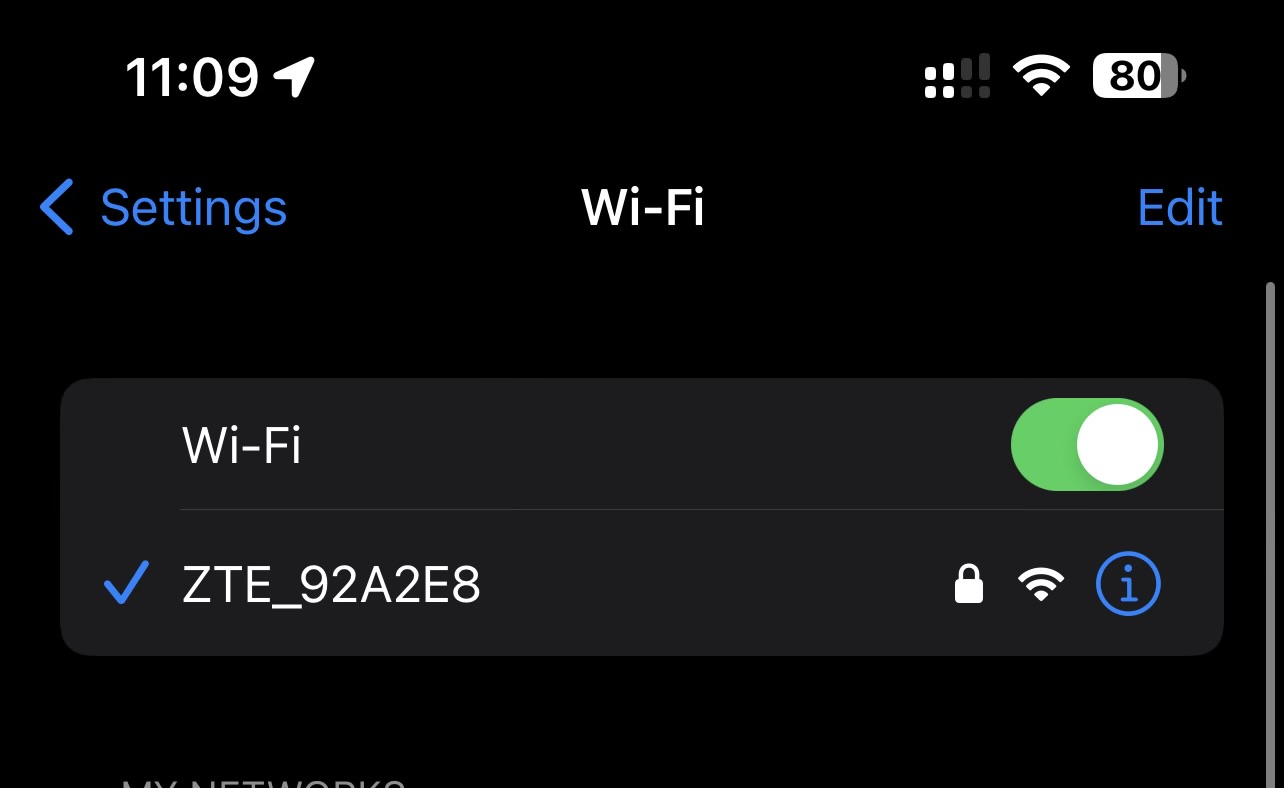
Power the device on and connect to its WiFi network — this step is essential and cannot be skipped.

- On mobile: Settings > Wi-Fi > Select the ZTE network name > Enter WiFi key > Join
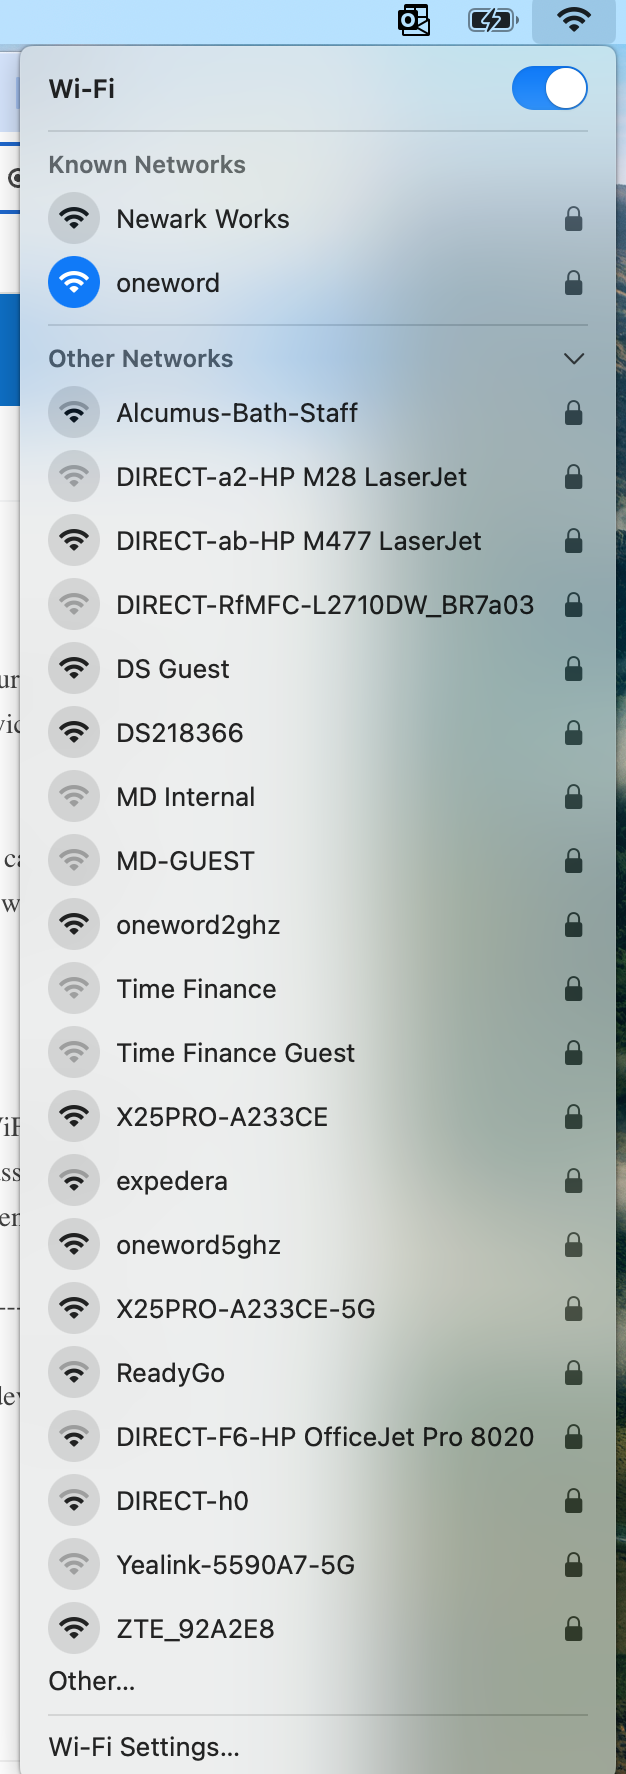
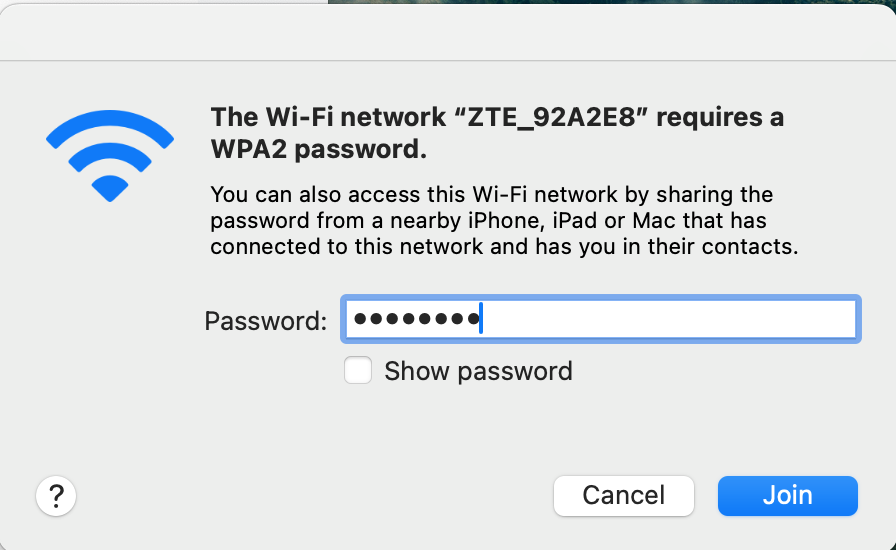
- On laptop: Access WiFi menu, locate the ZTE SSID, enter the WiFi key, select Join
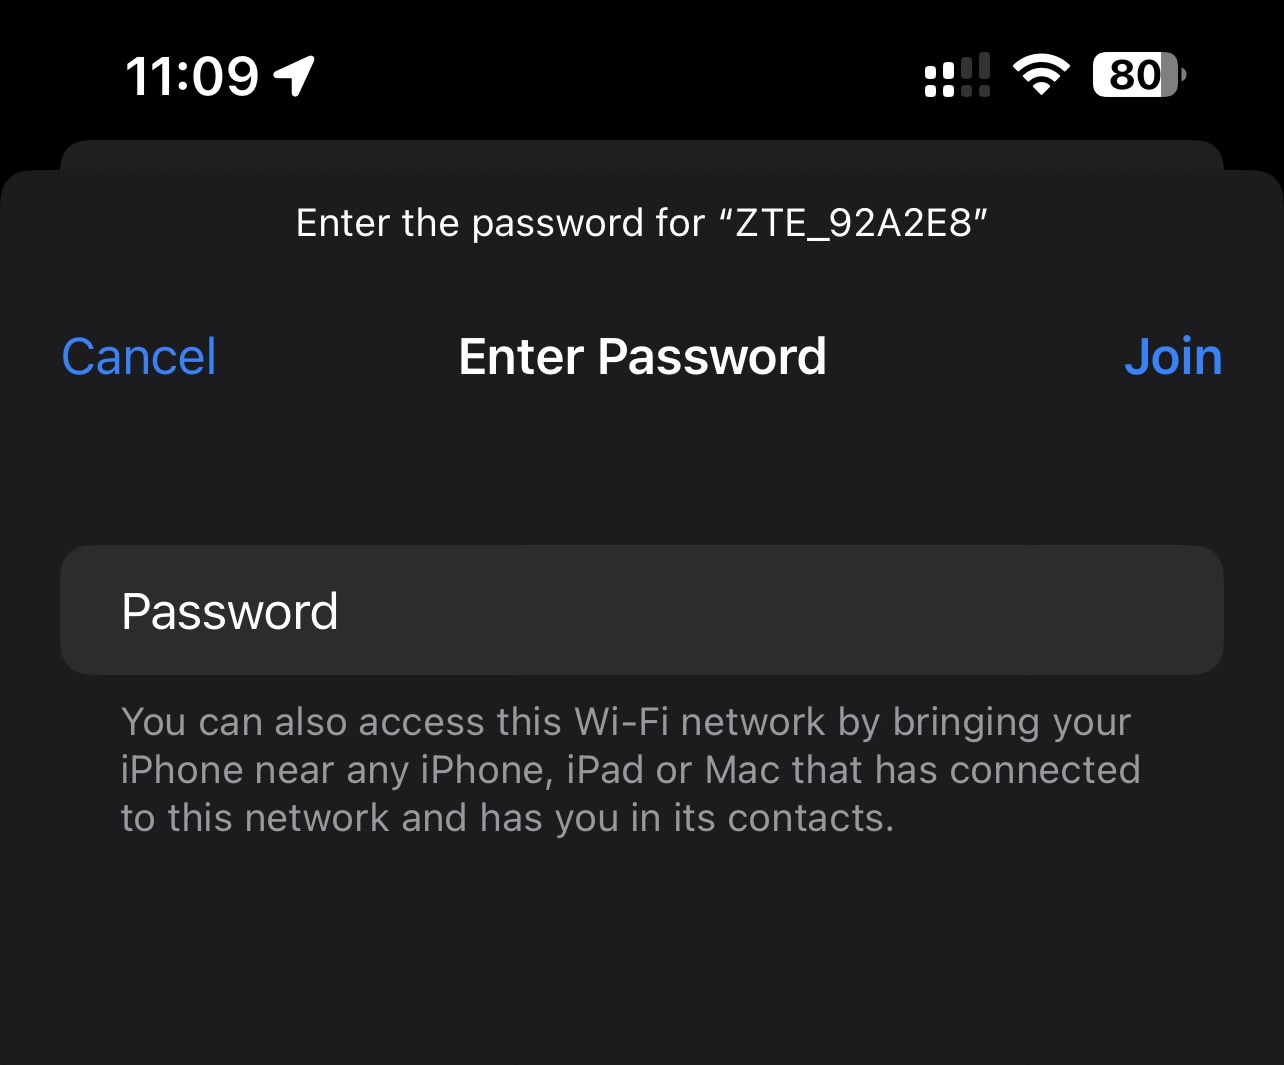
Connection typically takes under one minute. You may proceed even without internet access at this stage.
Step 4: Access the Web Interface
- Ensure you are connected to the device's WiFi network.
- Open any web browser (Safari, Chrome, Firefox, Edge).
- Navigate to
http://192.168.0.1. - Log in using the Password from the sticker.
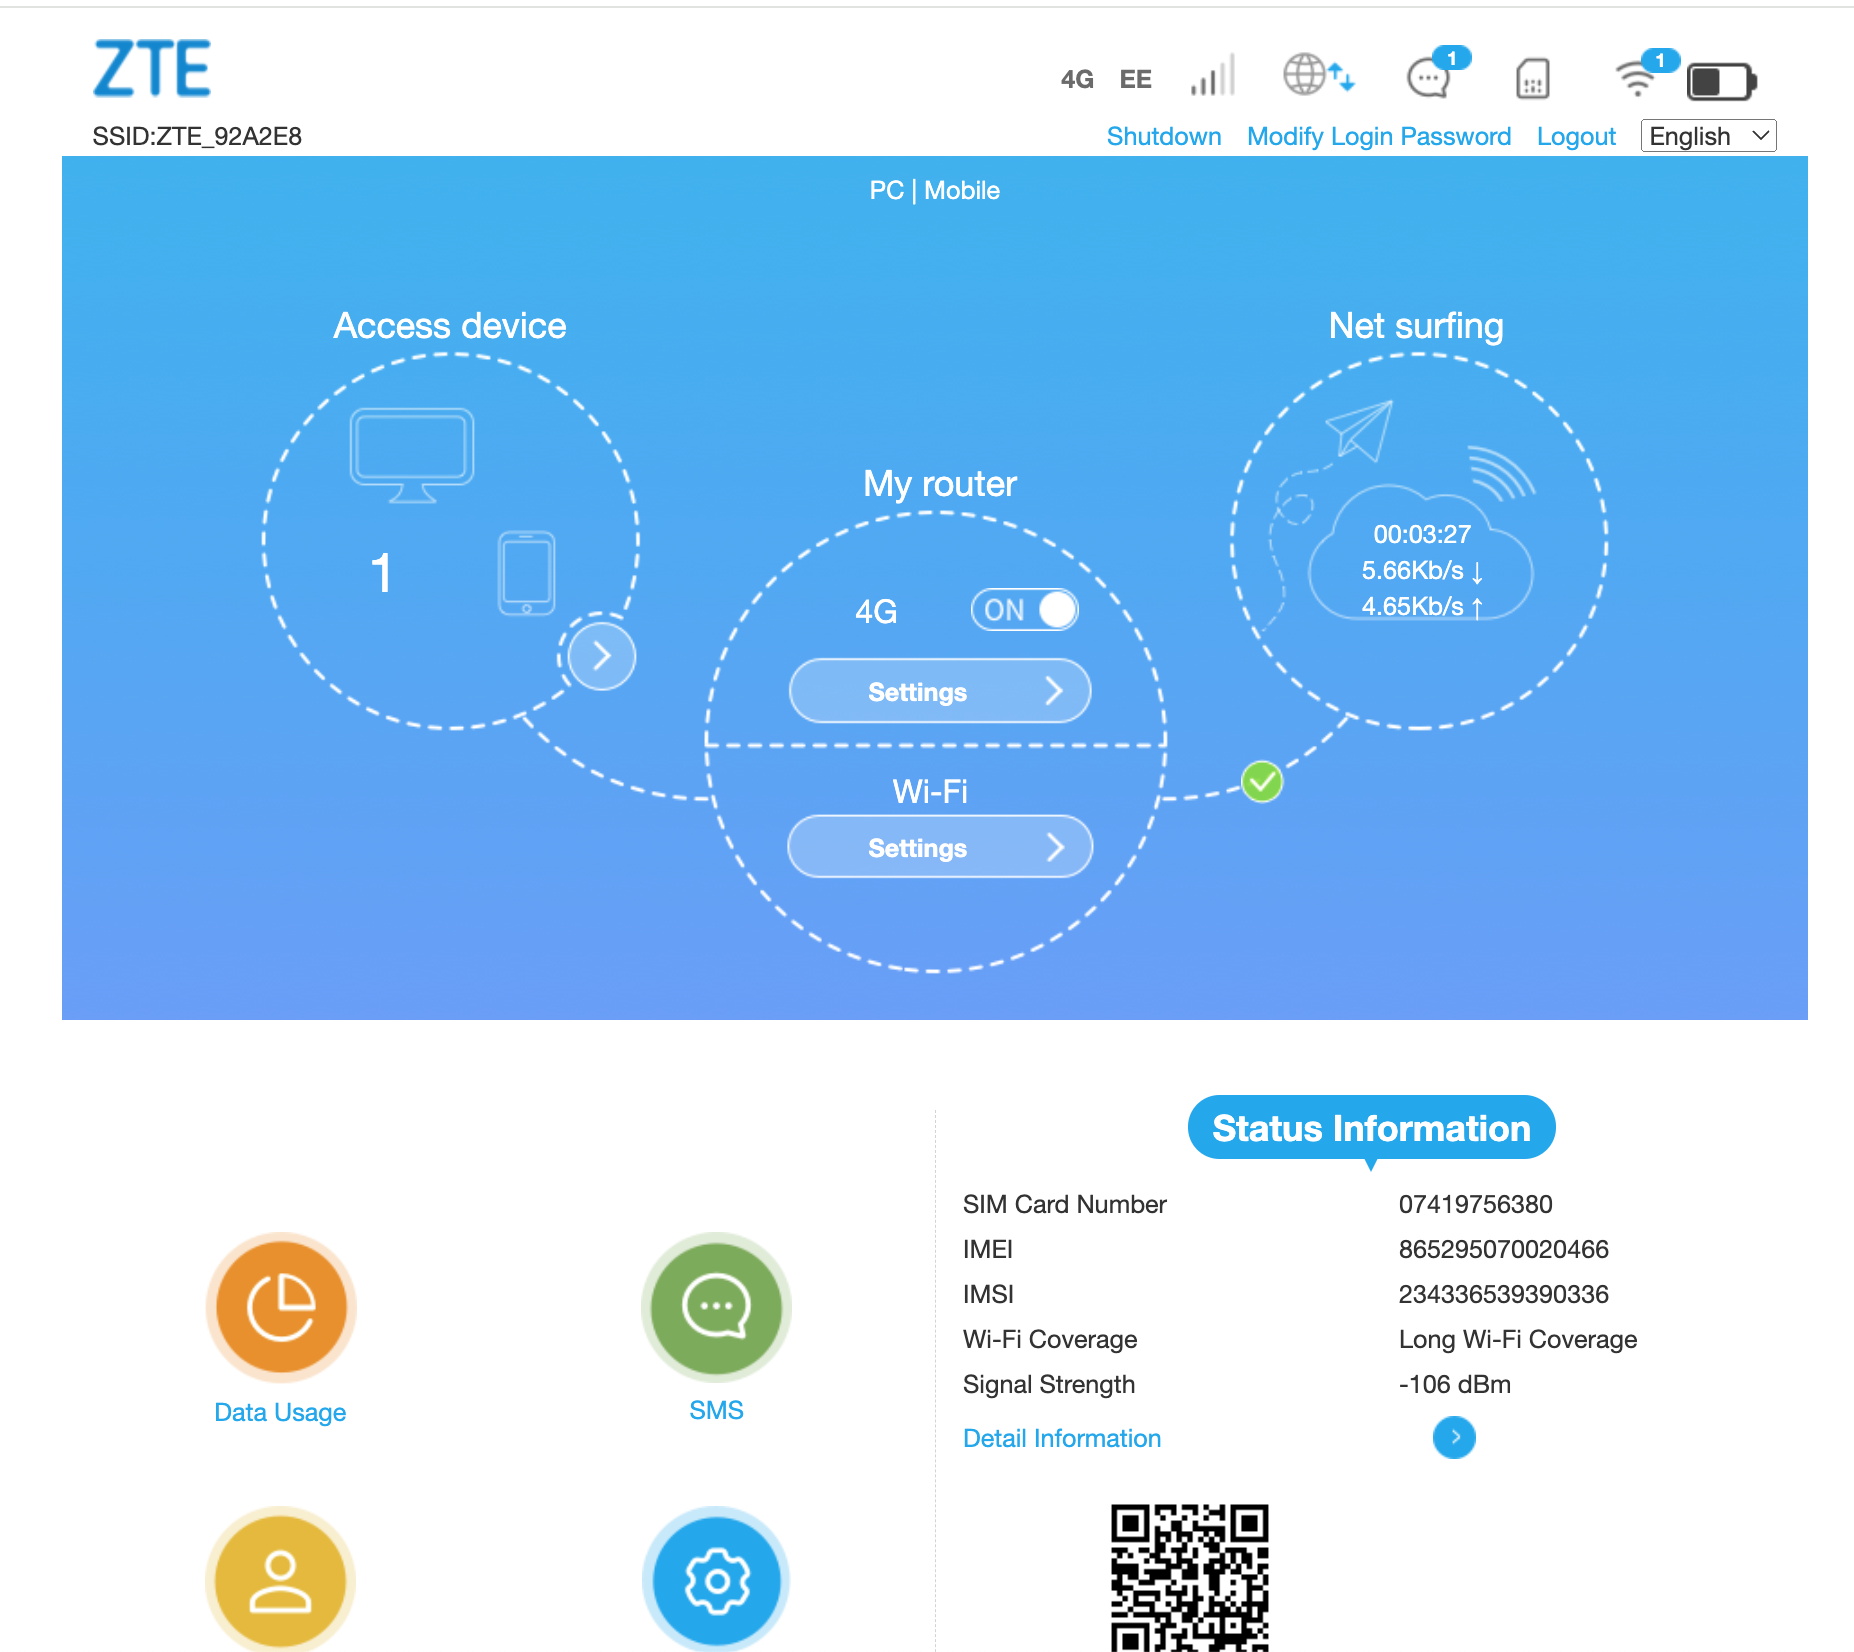
The interface displays a main menu with a "My Router" section containing 4G and WiFi settings.

4G Settings: Connection Mode
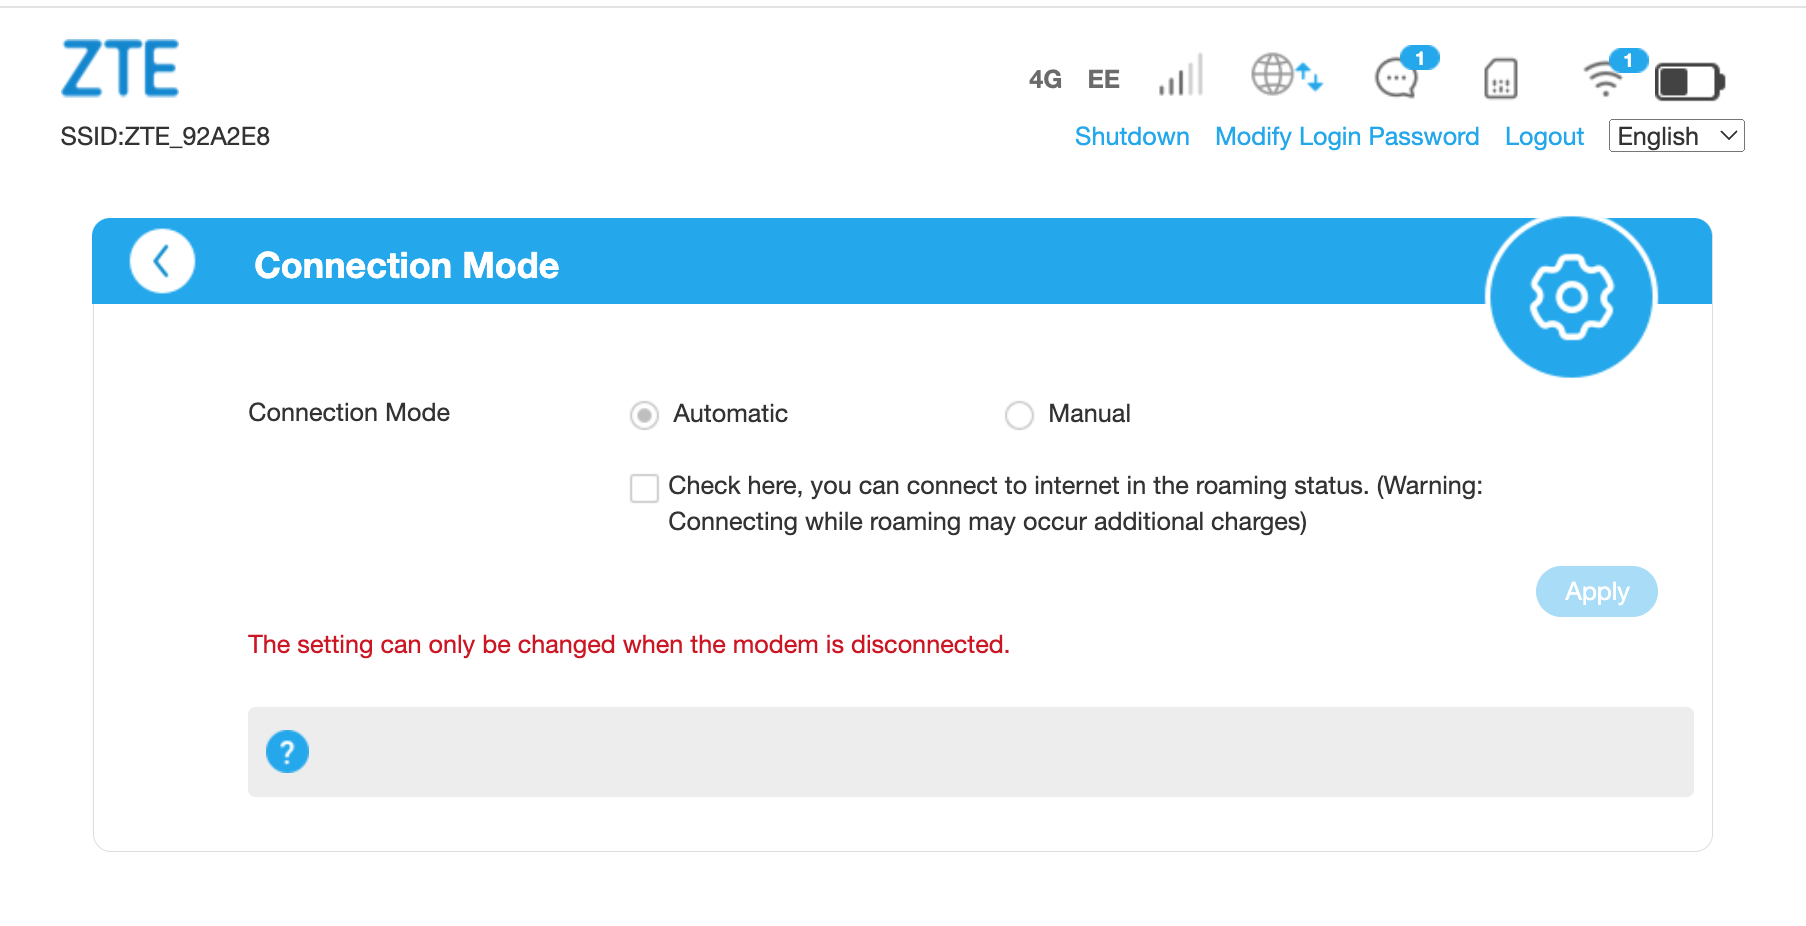
Enable the roaming checkbox. IQ Mobile data SIMs include "roam like home" coverage throughout Europe without roaming charges.
4G Settings: Network Selection
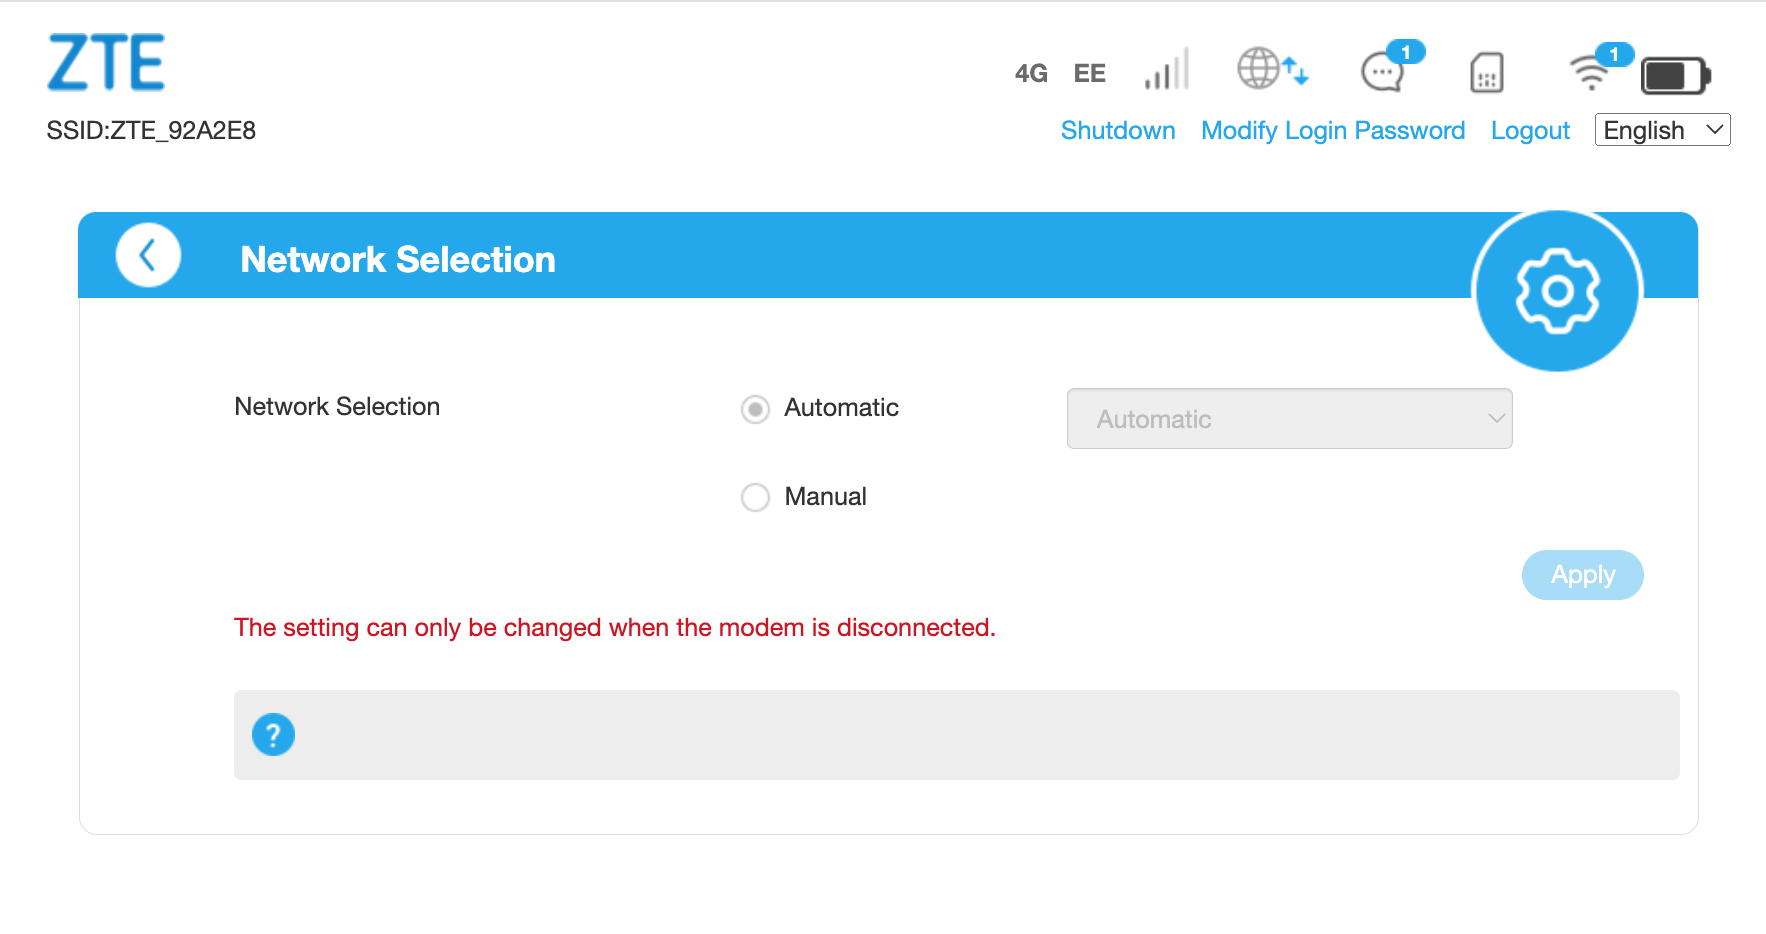
This feature allows manual selection of available networks when roaming — for example in France or Spain you may prefer a specific network for better signal. Remember to return to automatic selection afterwards.
Network selection is optional but useful for roaming optimisation.
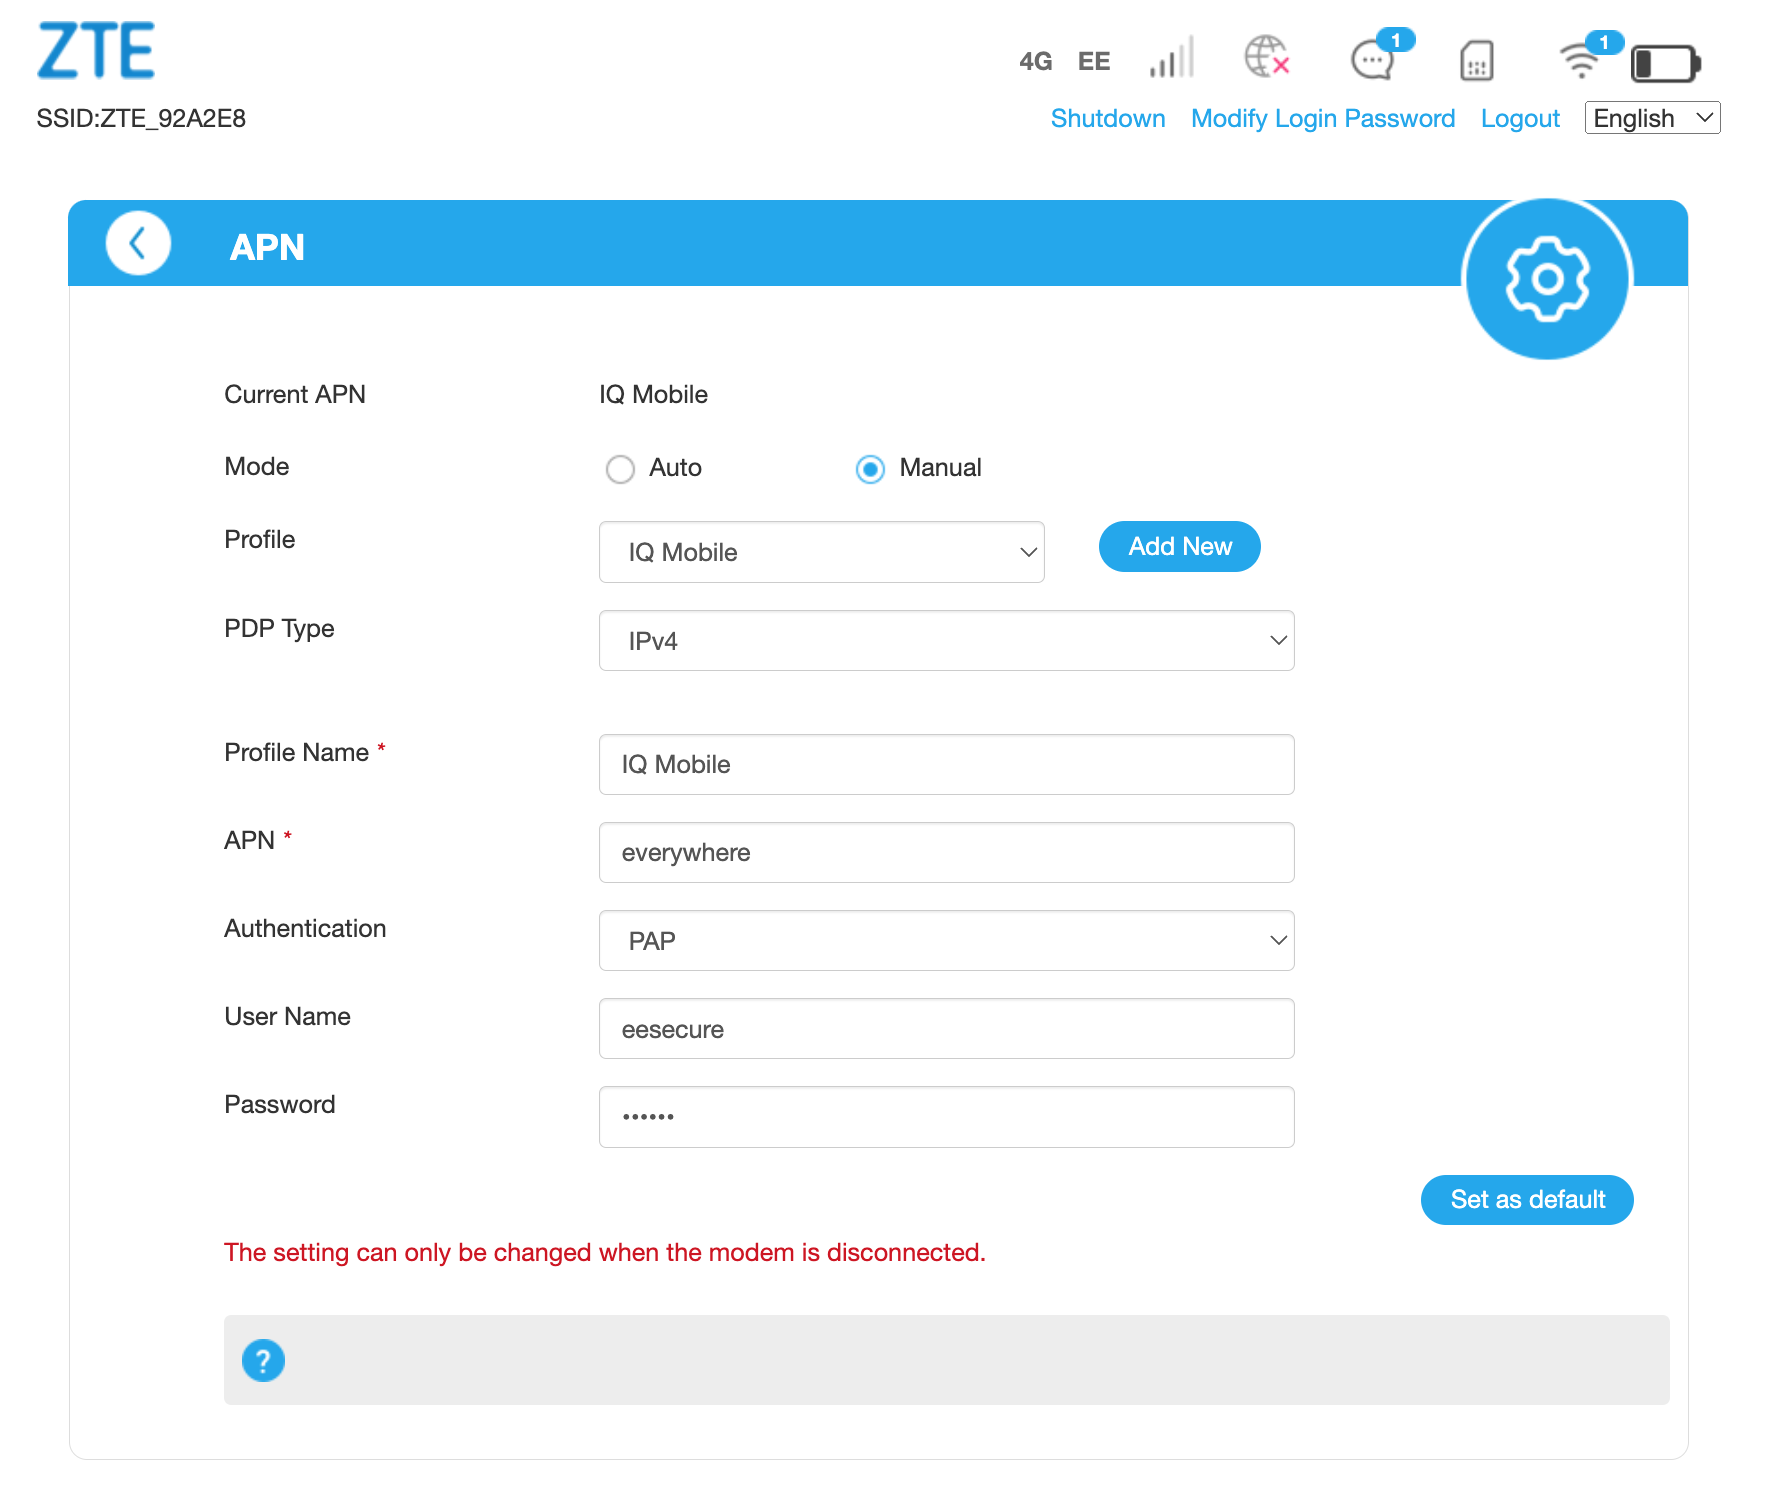
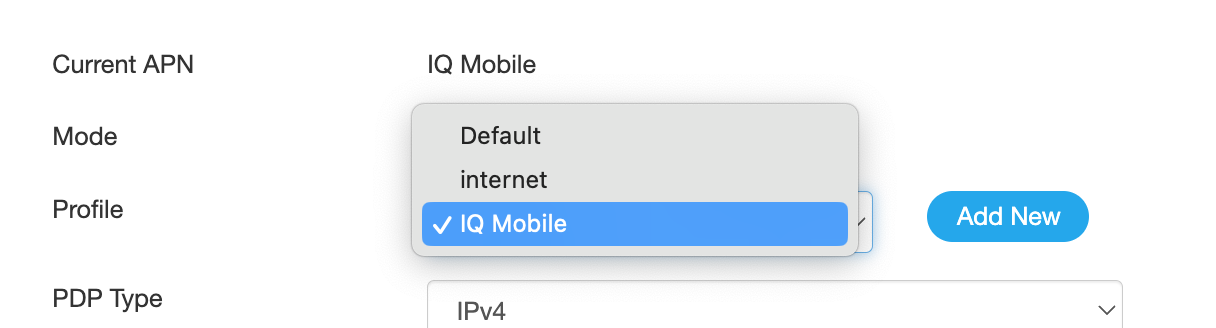
4G Settings: APN Settings
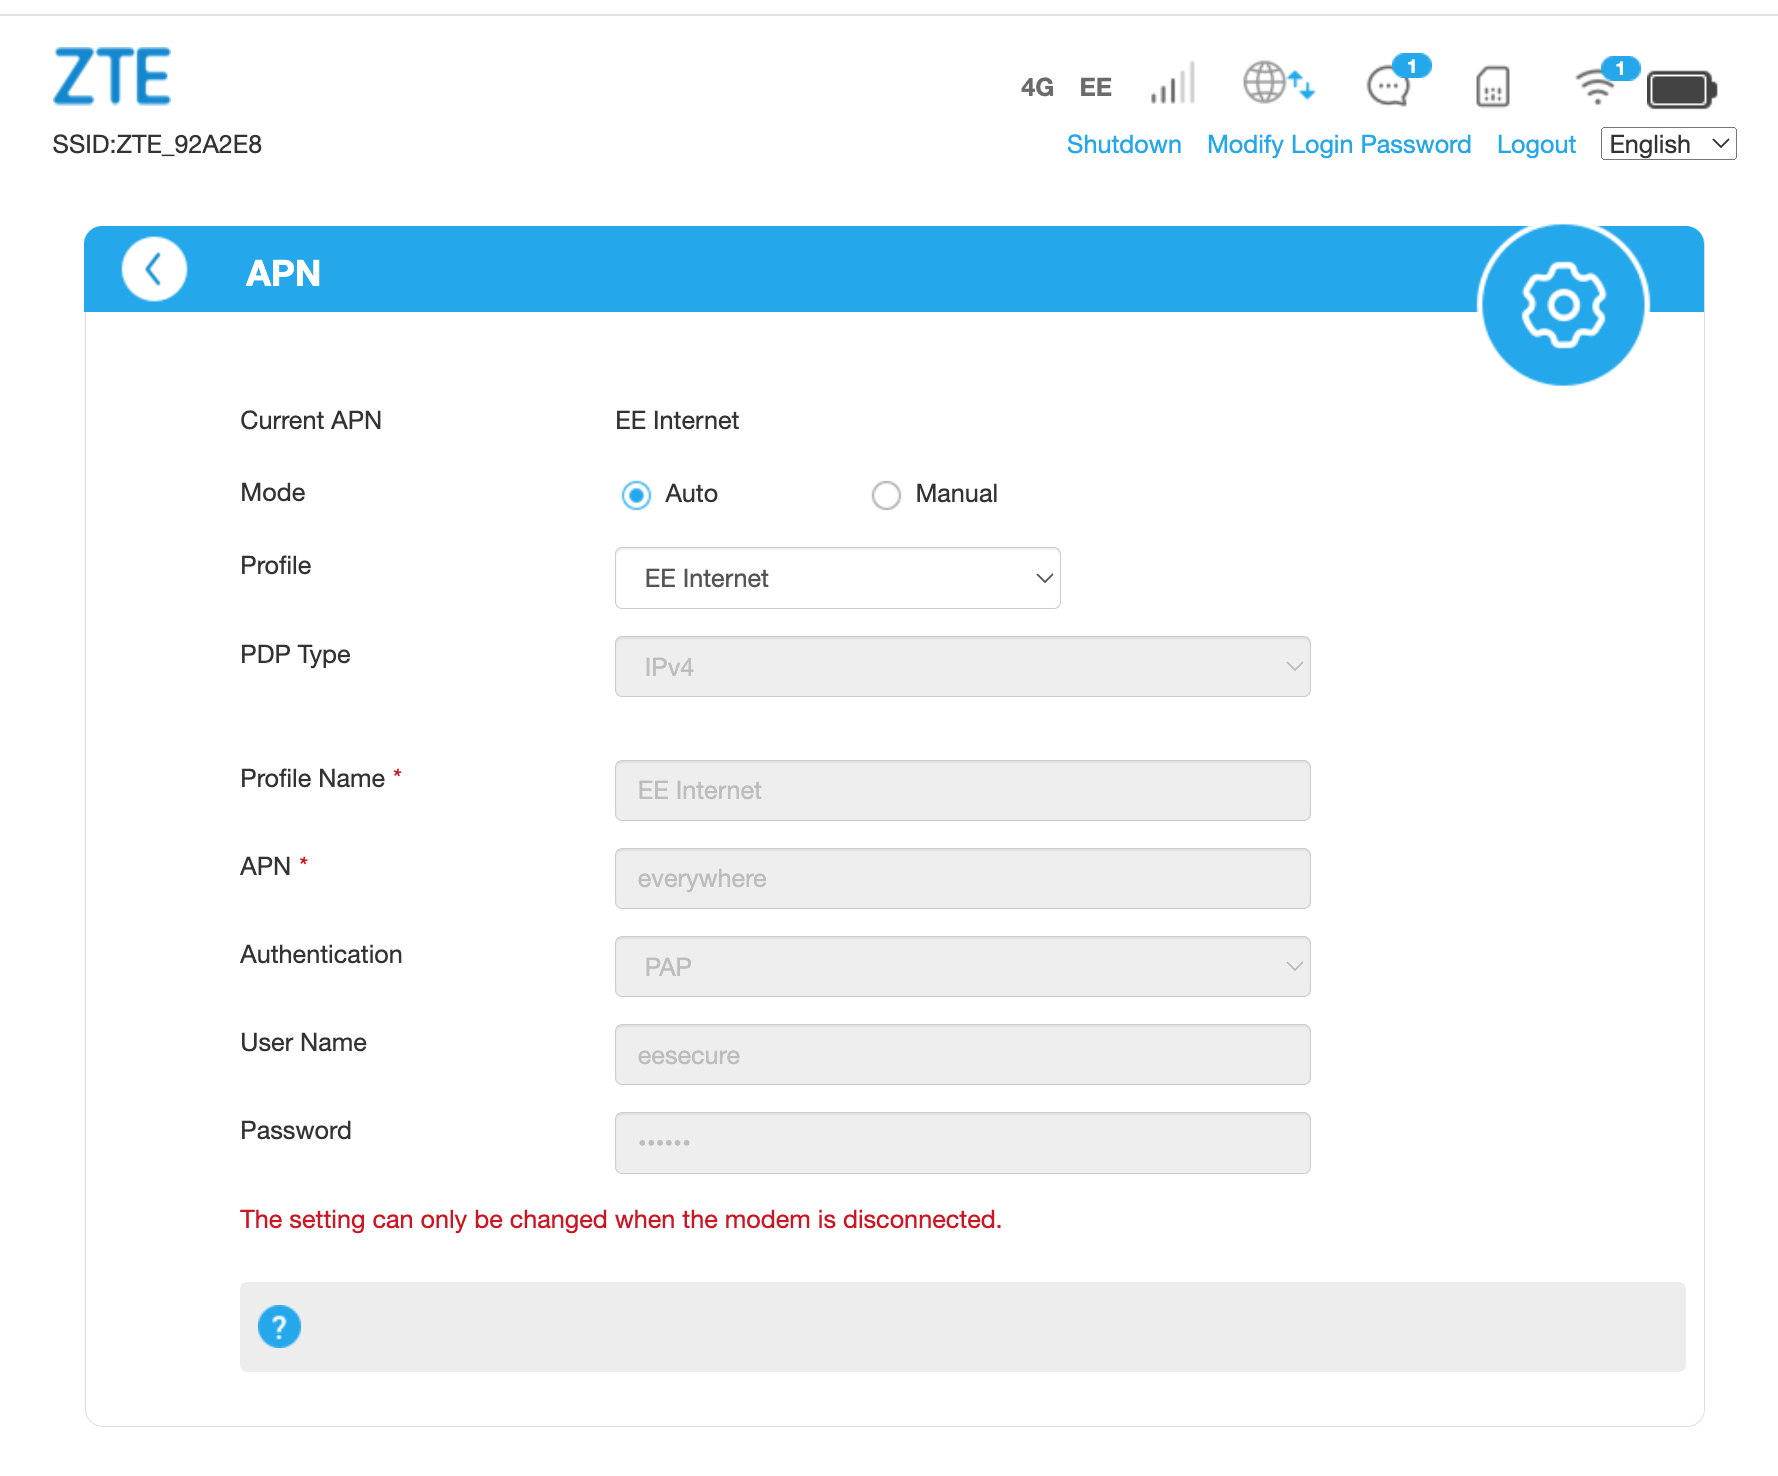
The device typically auto-detects correct APN settings. However, manual configuration may be necessary. Enter the following for IQ Travel / IQ Mobile SIM-only services:
| Field | Value |
|---|---|
| APN | everywhere |
| Username | eesecure |
| Password | secure |
| Authentication | PAP or CHAP |
Step 5: Final Configuration and Reboot
Confirm the APN is active, then reboot the device to establish the online connection.
Mobile browser APN editing is cumbersome — laptop configuration is recommended for clearer control and easier editing.
Still need help?
Our UK-based team is here for you