Router Configuration
NETGEAR Nighthawk M1 — Configuration Guide
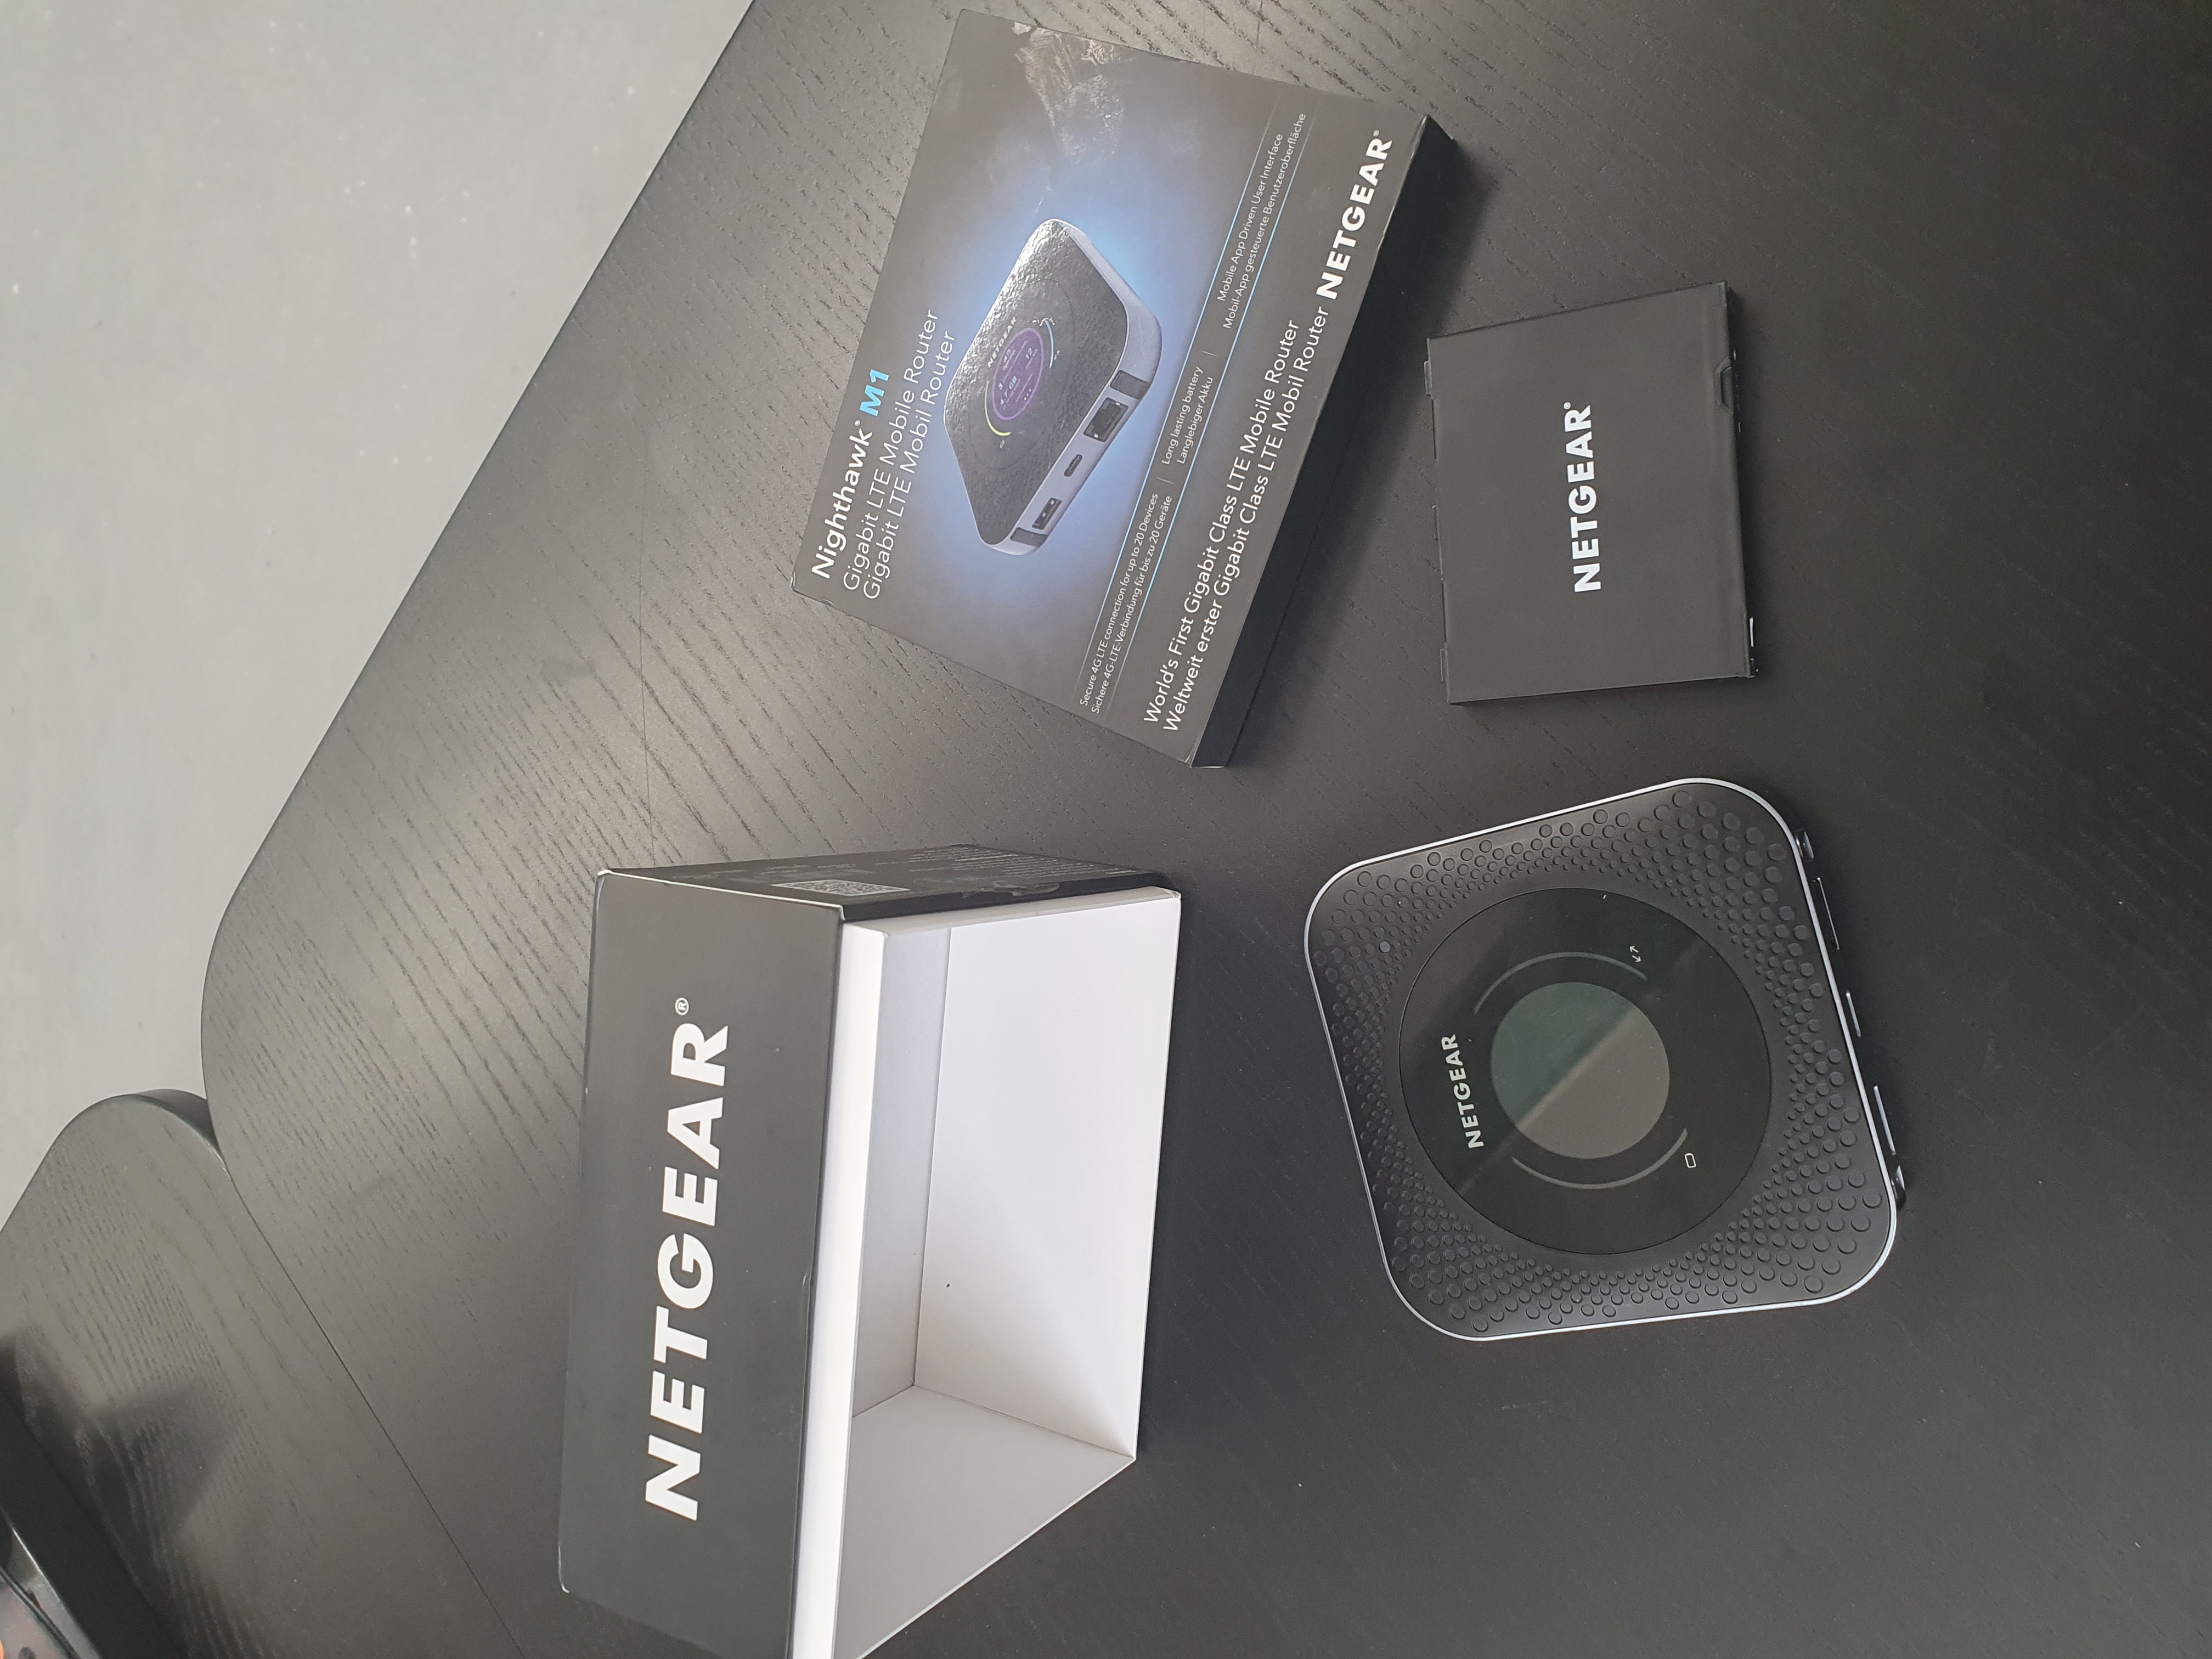
Step 1: Unbox and Insert SIM
Begin by unboxing the device and verifying all components are present: Router, Battery, Charging Cable (USB Type-C), Back Cover, and Quickstart Guide.
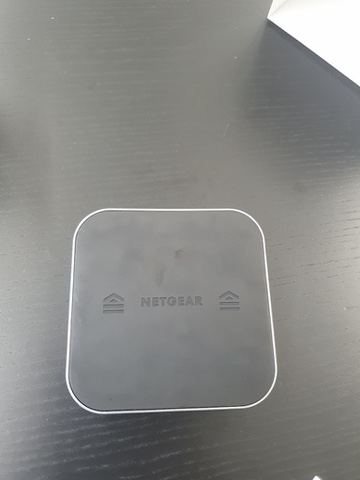
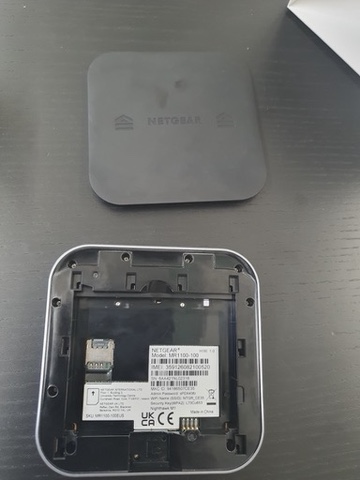
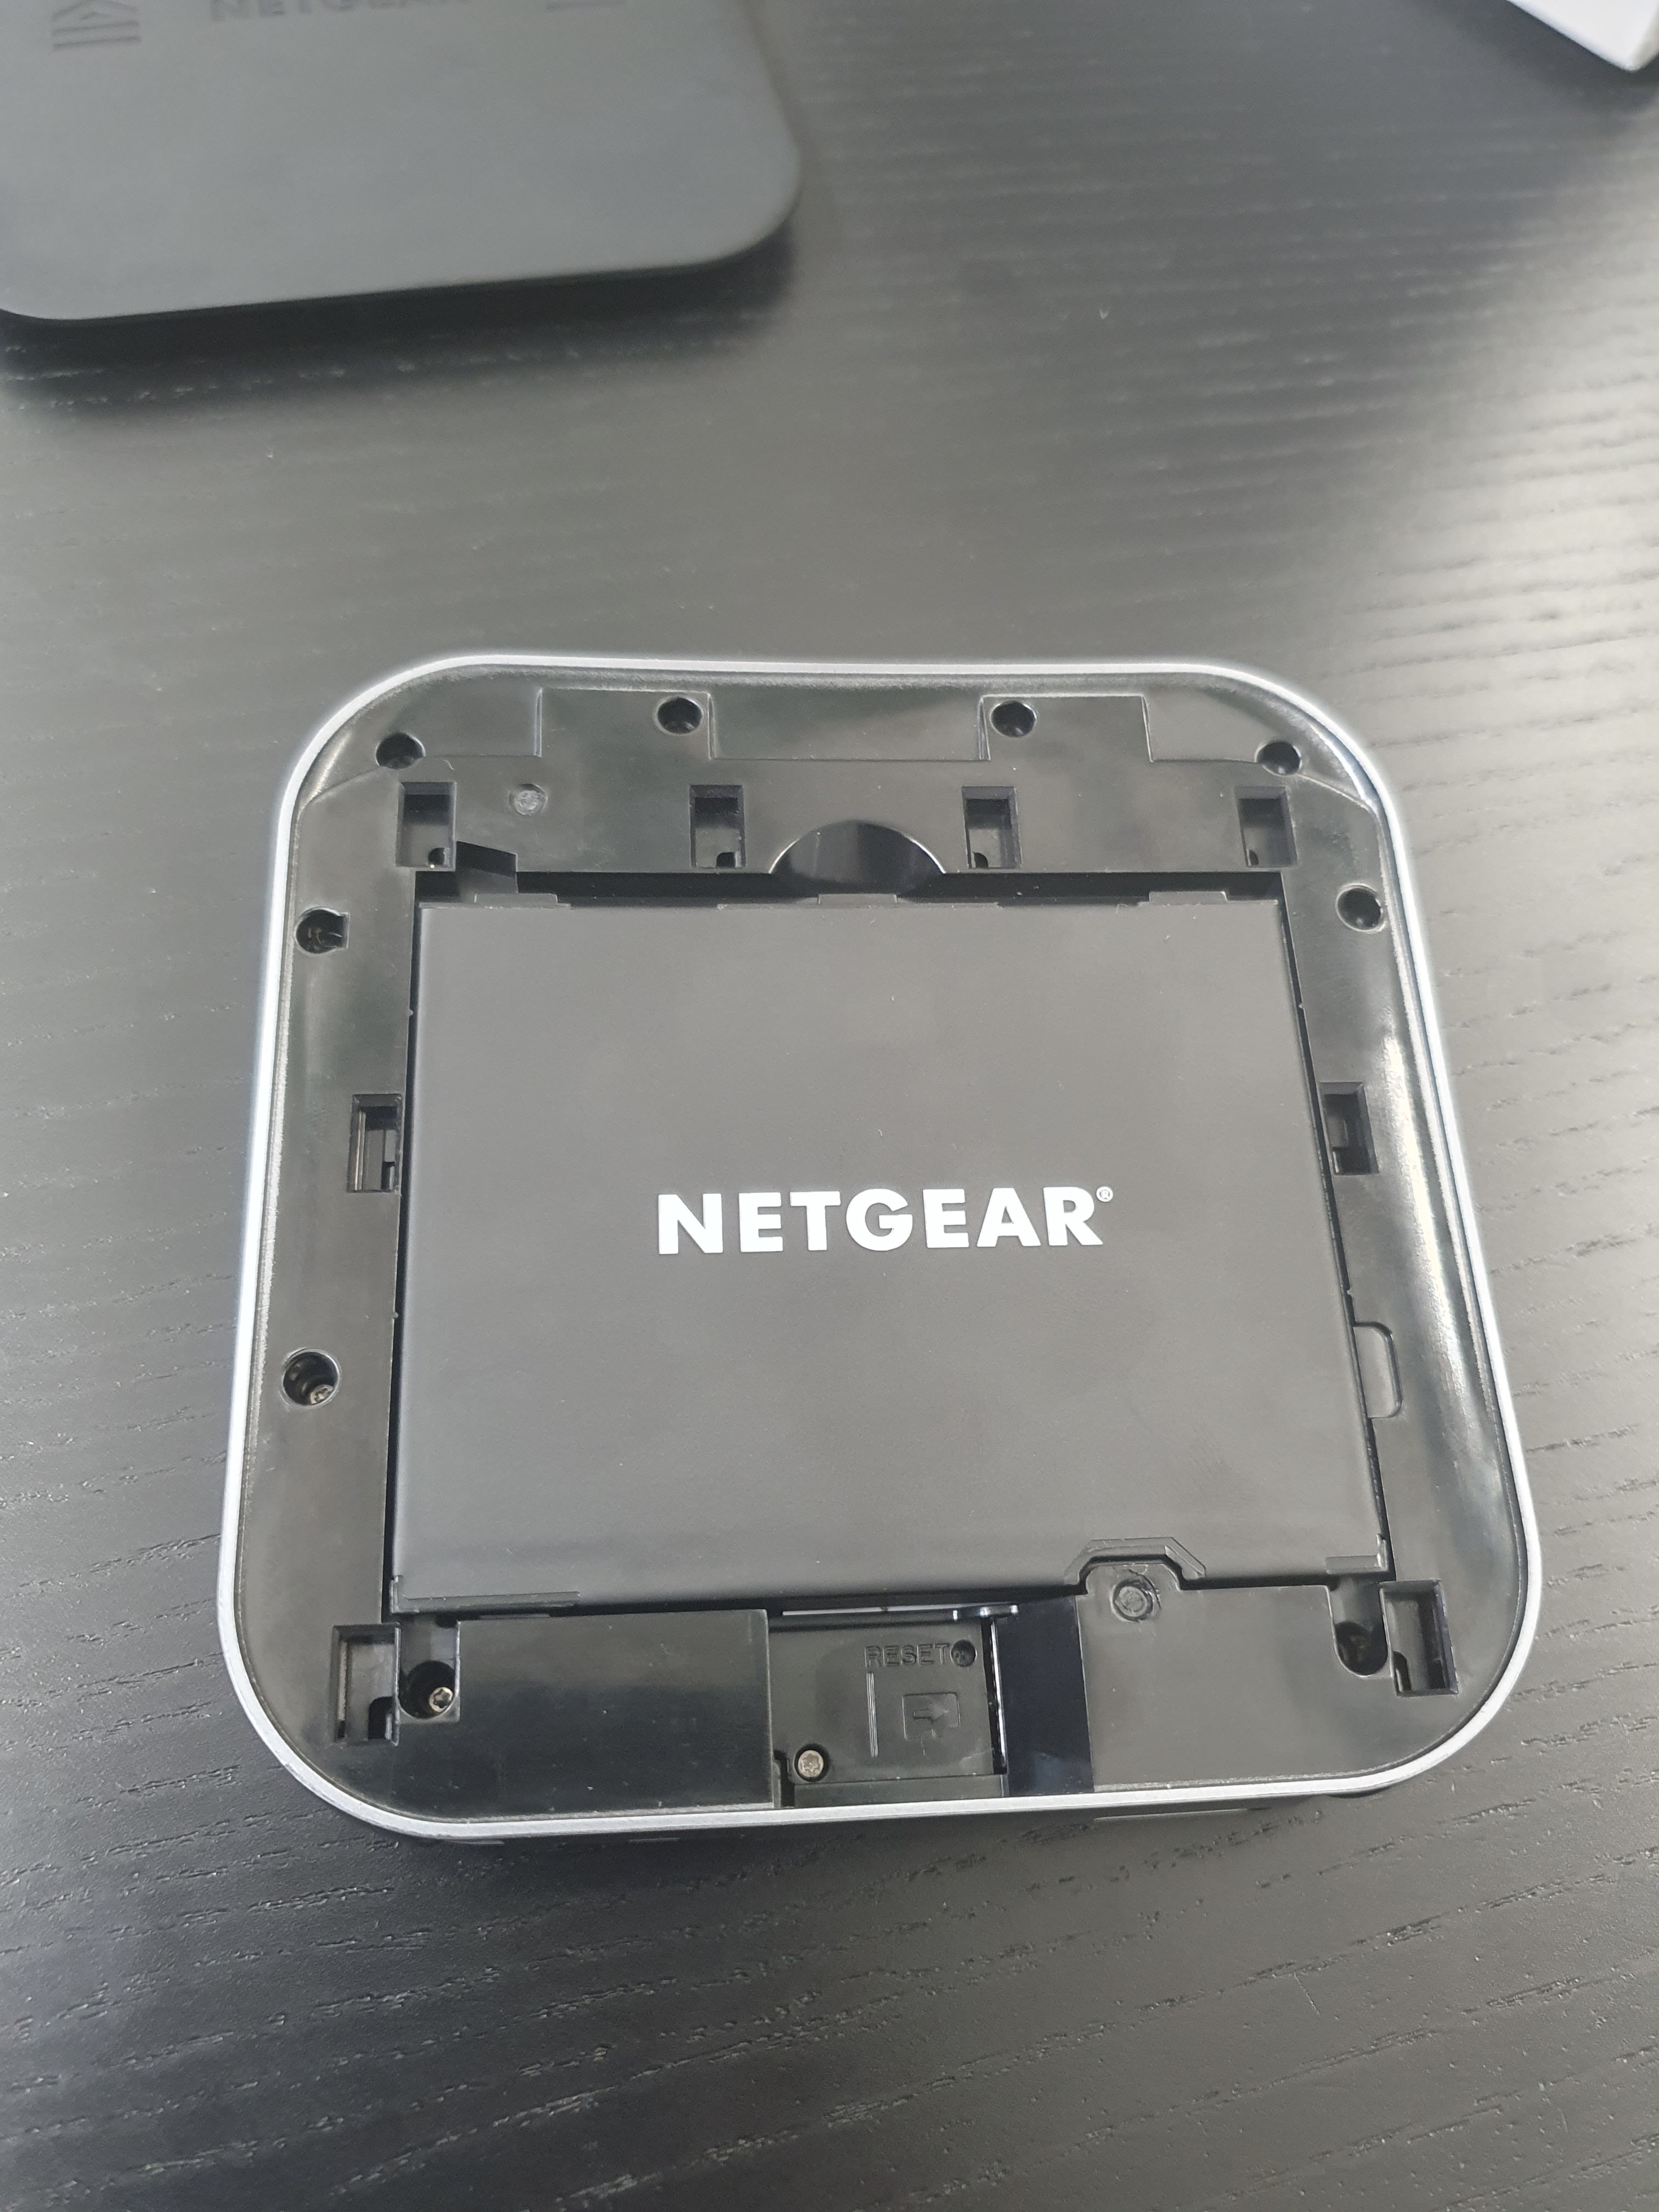
- Flip the router over and push the back cover off by moving it forward along the indicated arrow directions.
- Follow the sticker inside the router to orient the NANO SIM correctly.
- Ensure the back of the SIM is facing towards you.
| Item | Purpose |
|---|---|
| Model Type | Device name for support enquiries |
| WiFi Name | Network identifier |
| Admin Password | Browser access credential |
| Security Key/WPA2 | WiFi connection password |
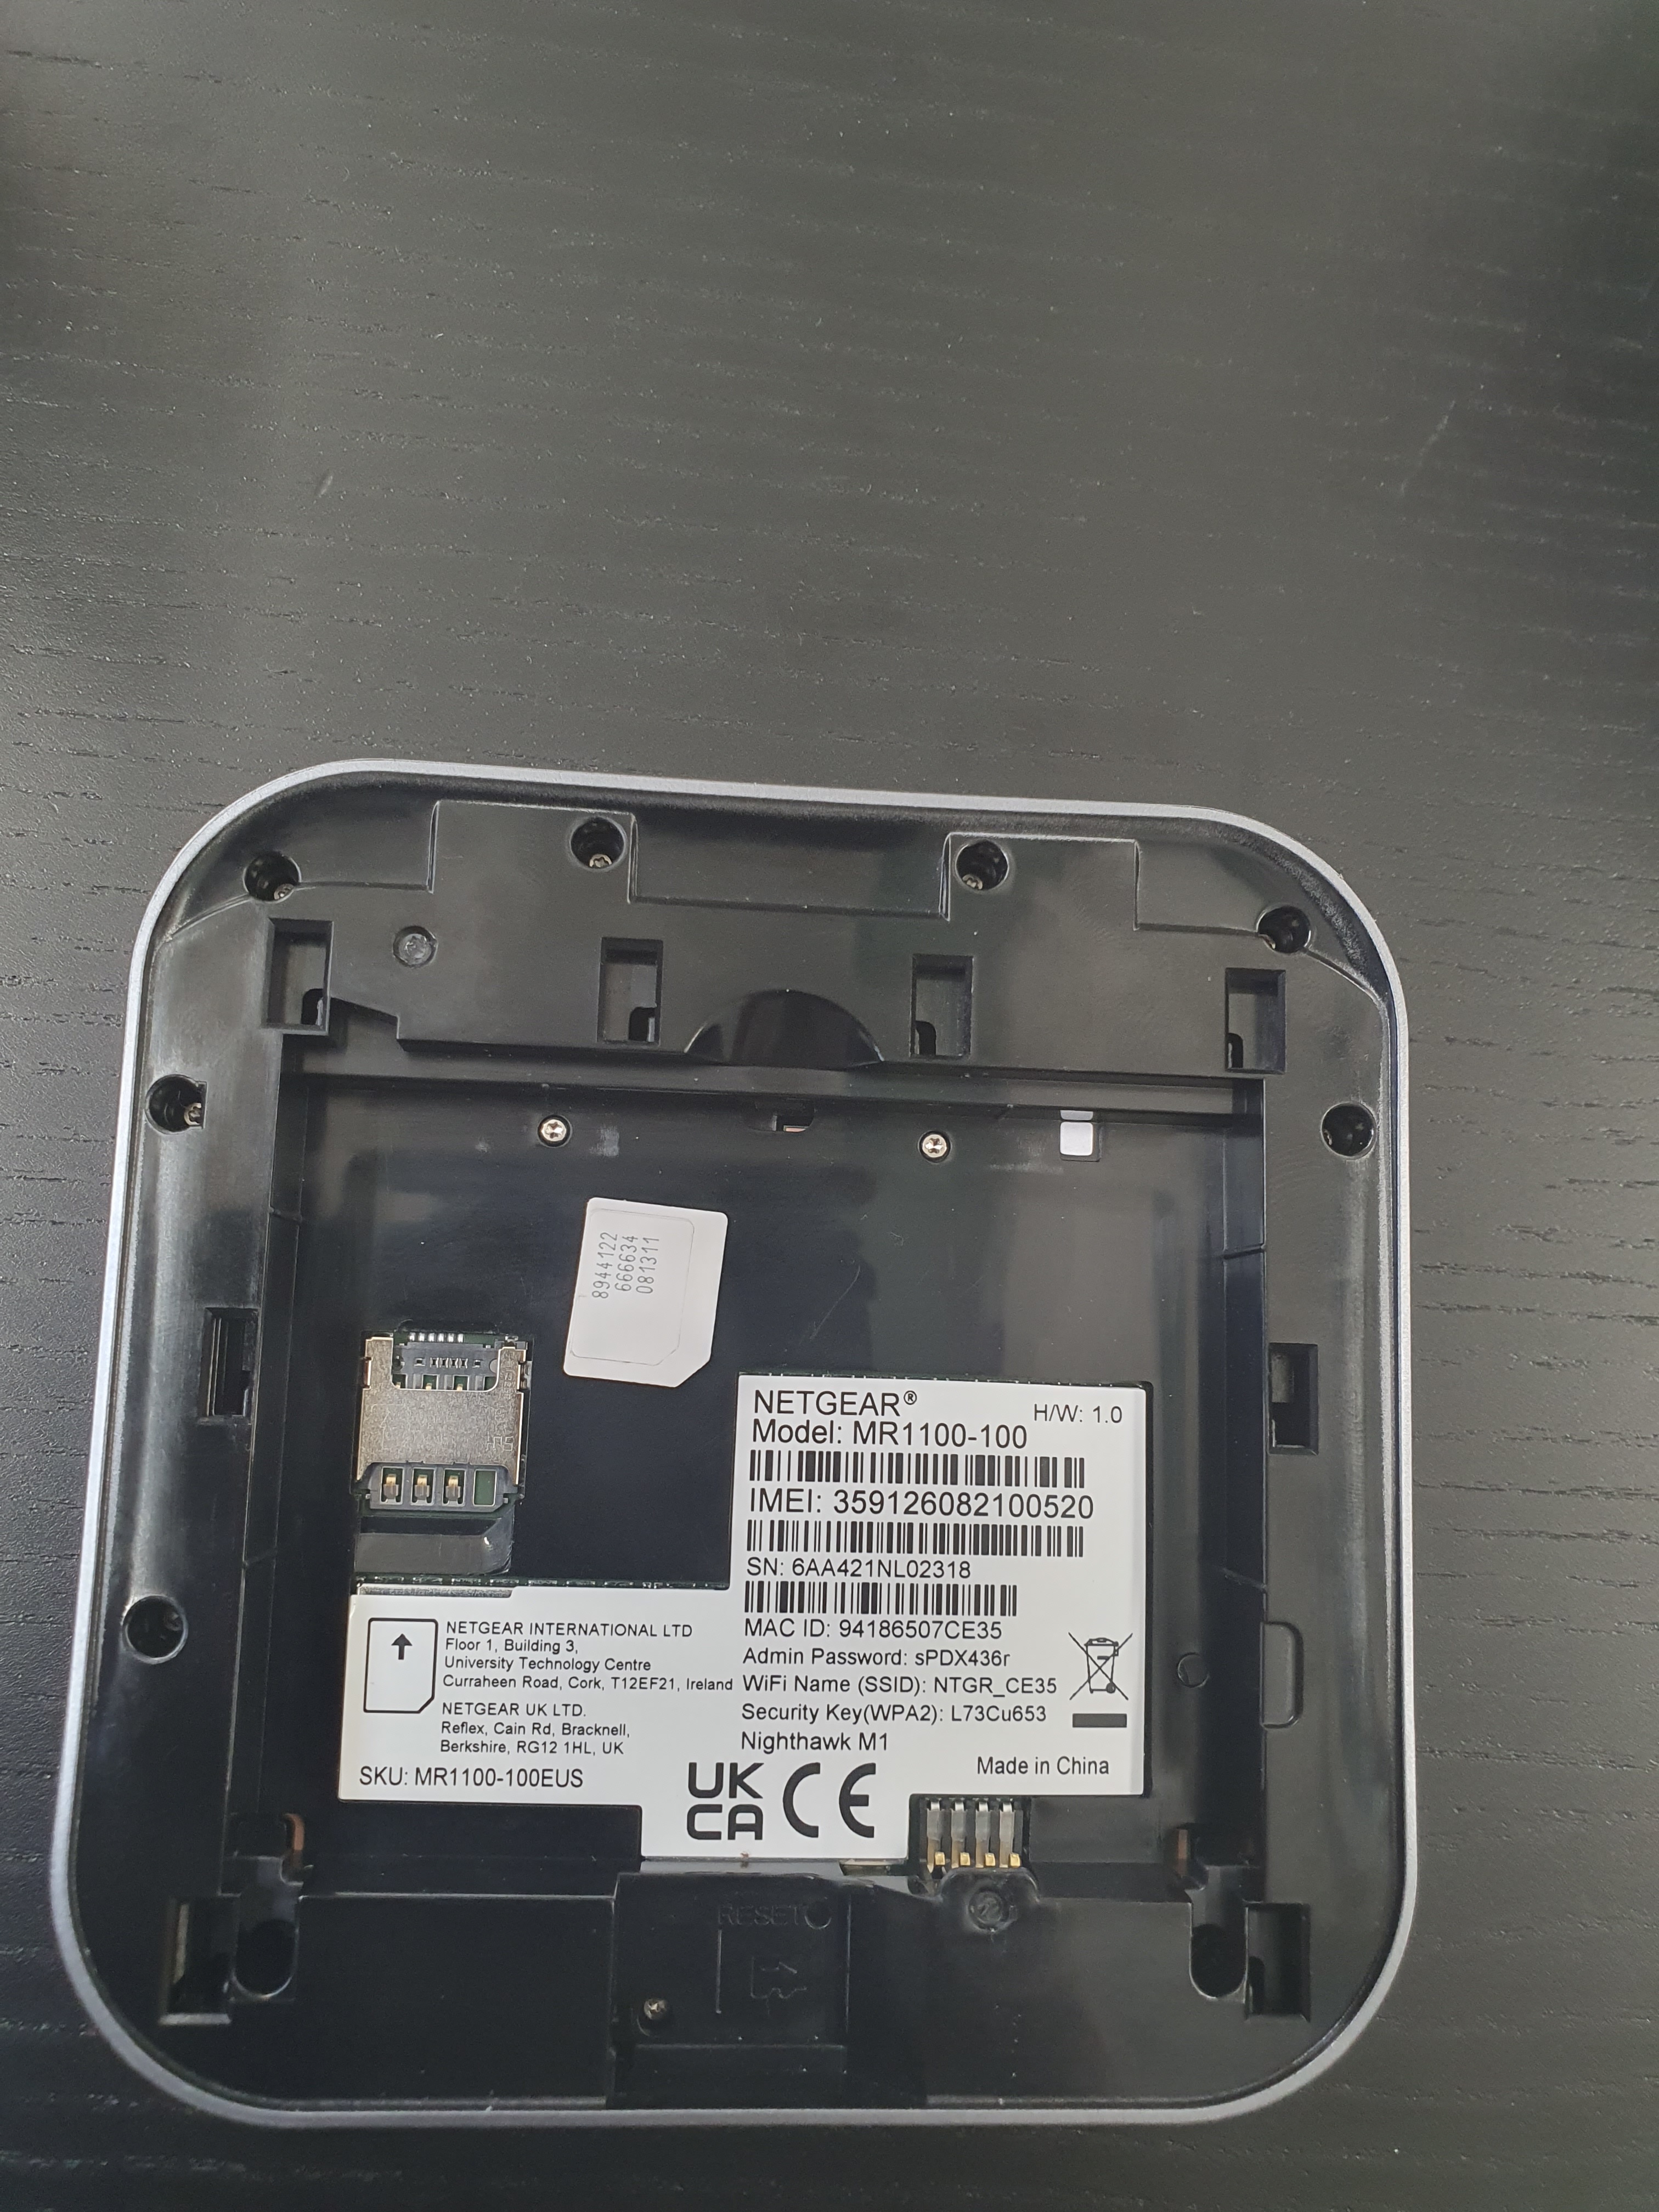
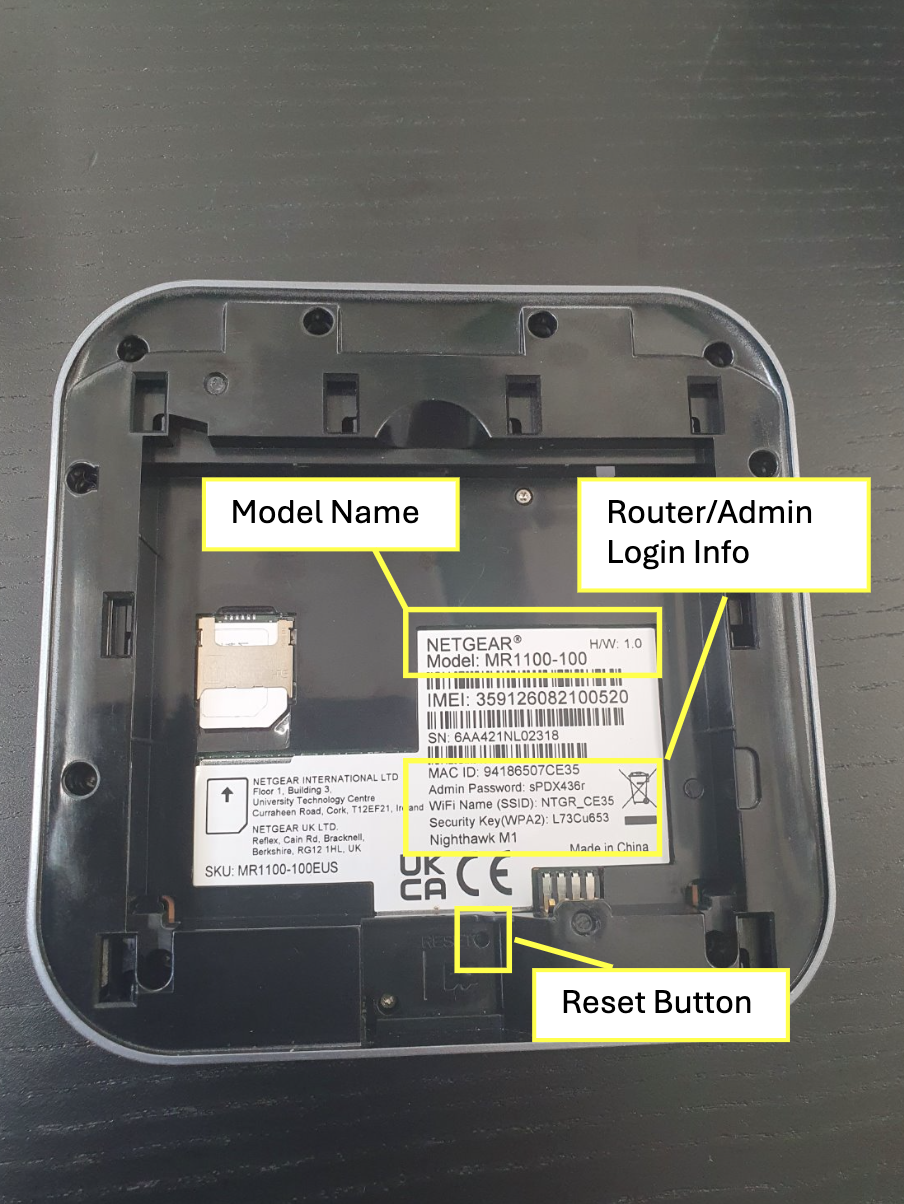
A factory reset button is located beneath where the battery sits and requires a SIM tray pin or paperclip to activate.
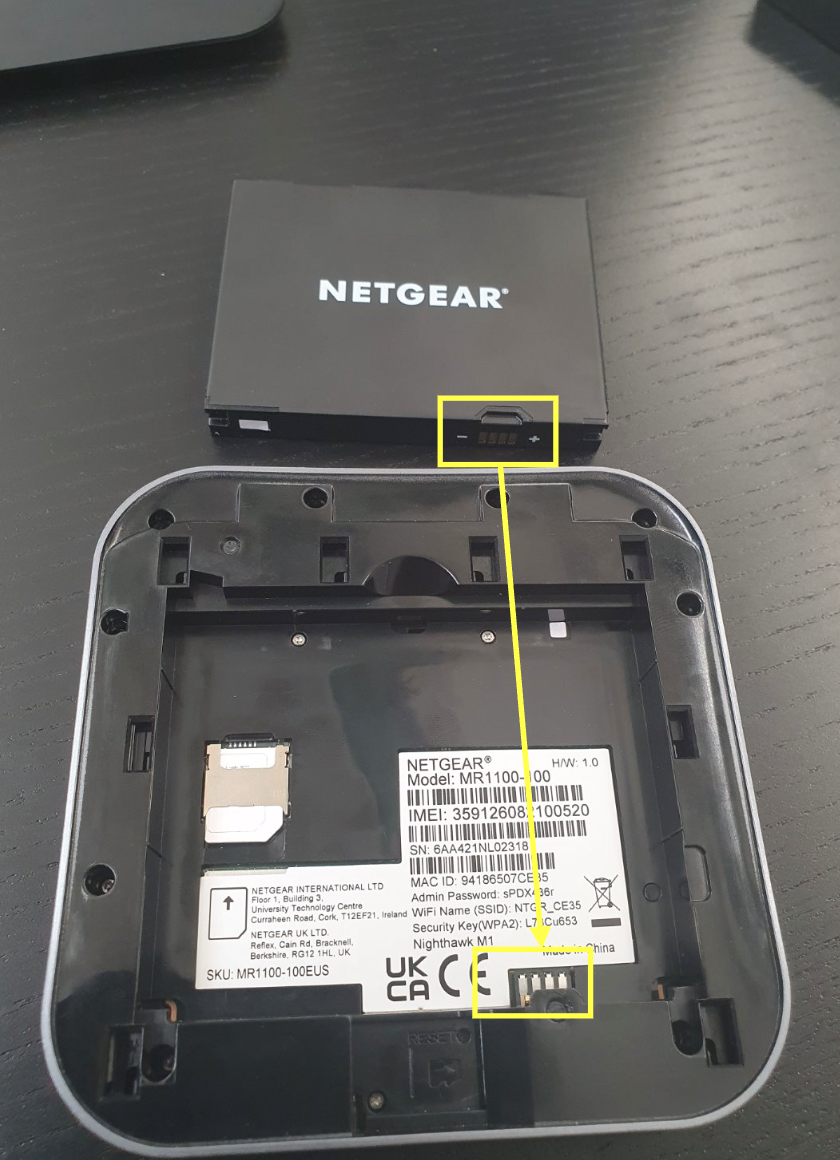
Step 2: Insert Battery and Power On
Align the battery's gold pins with the router's internal pins and slide into place. Replace the cover and hold the power button on the top of the router for 3–5 seconds.
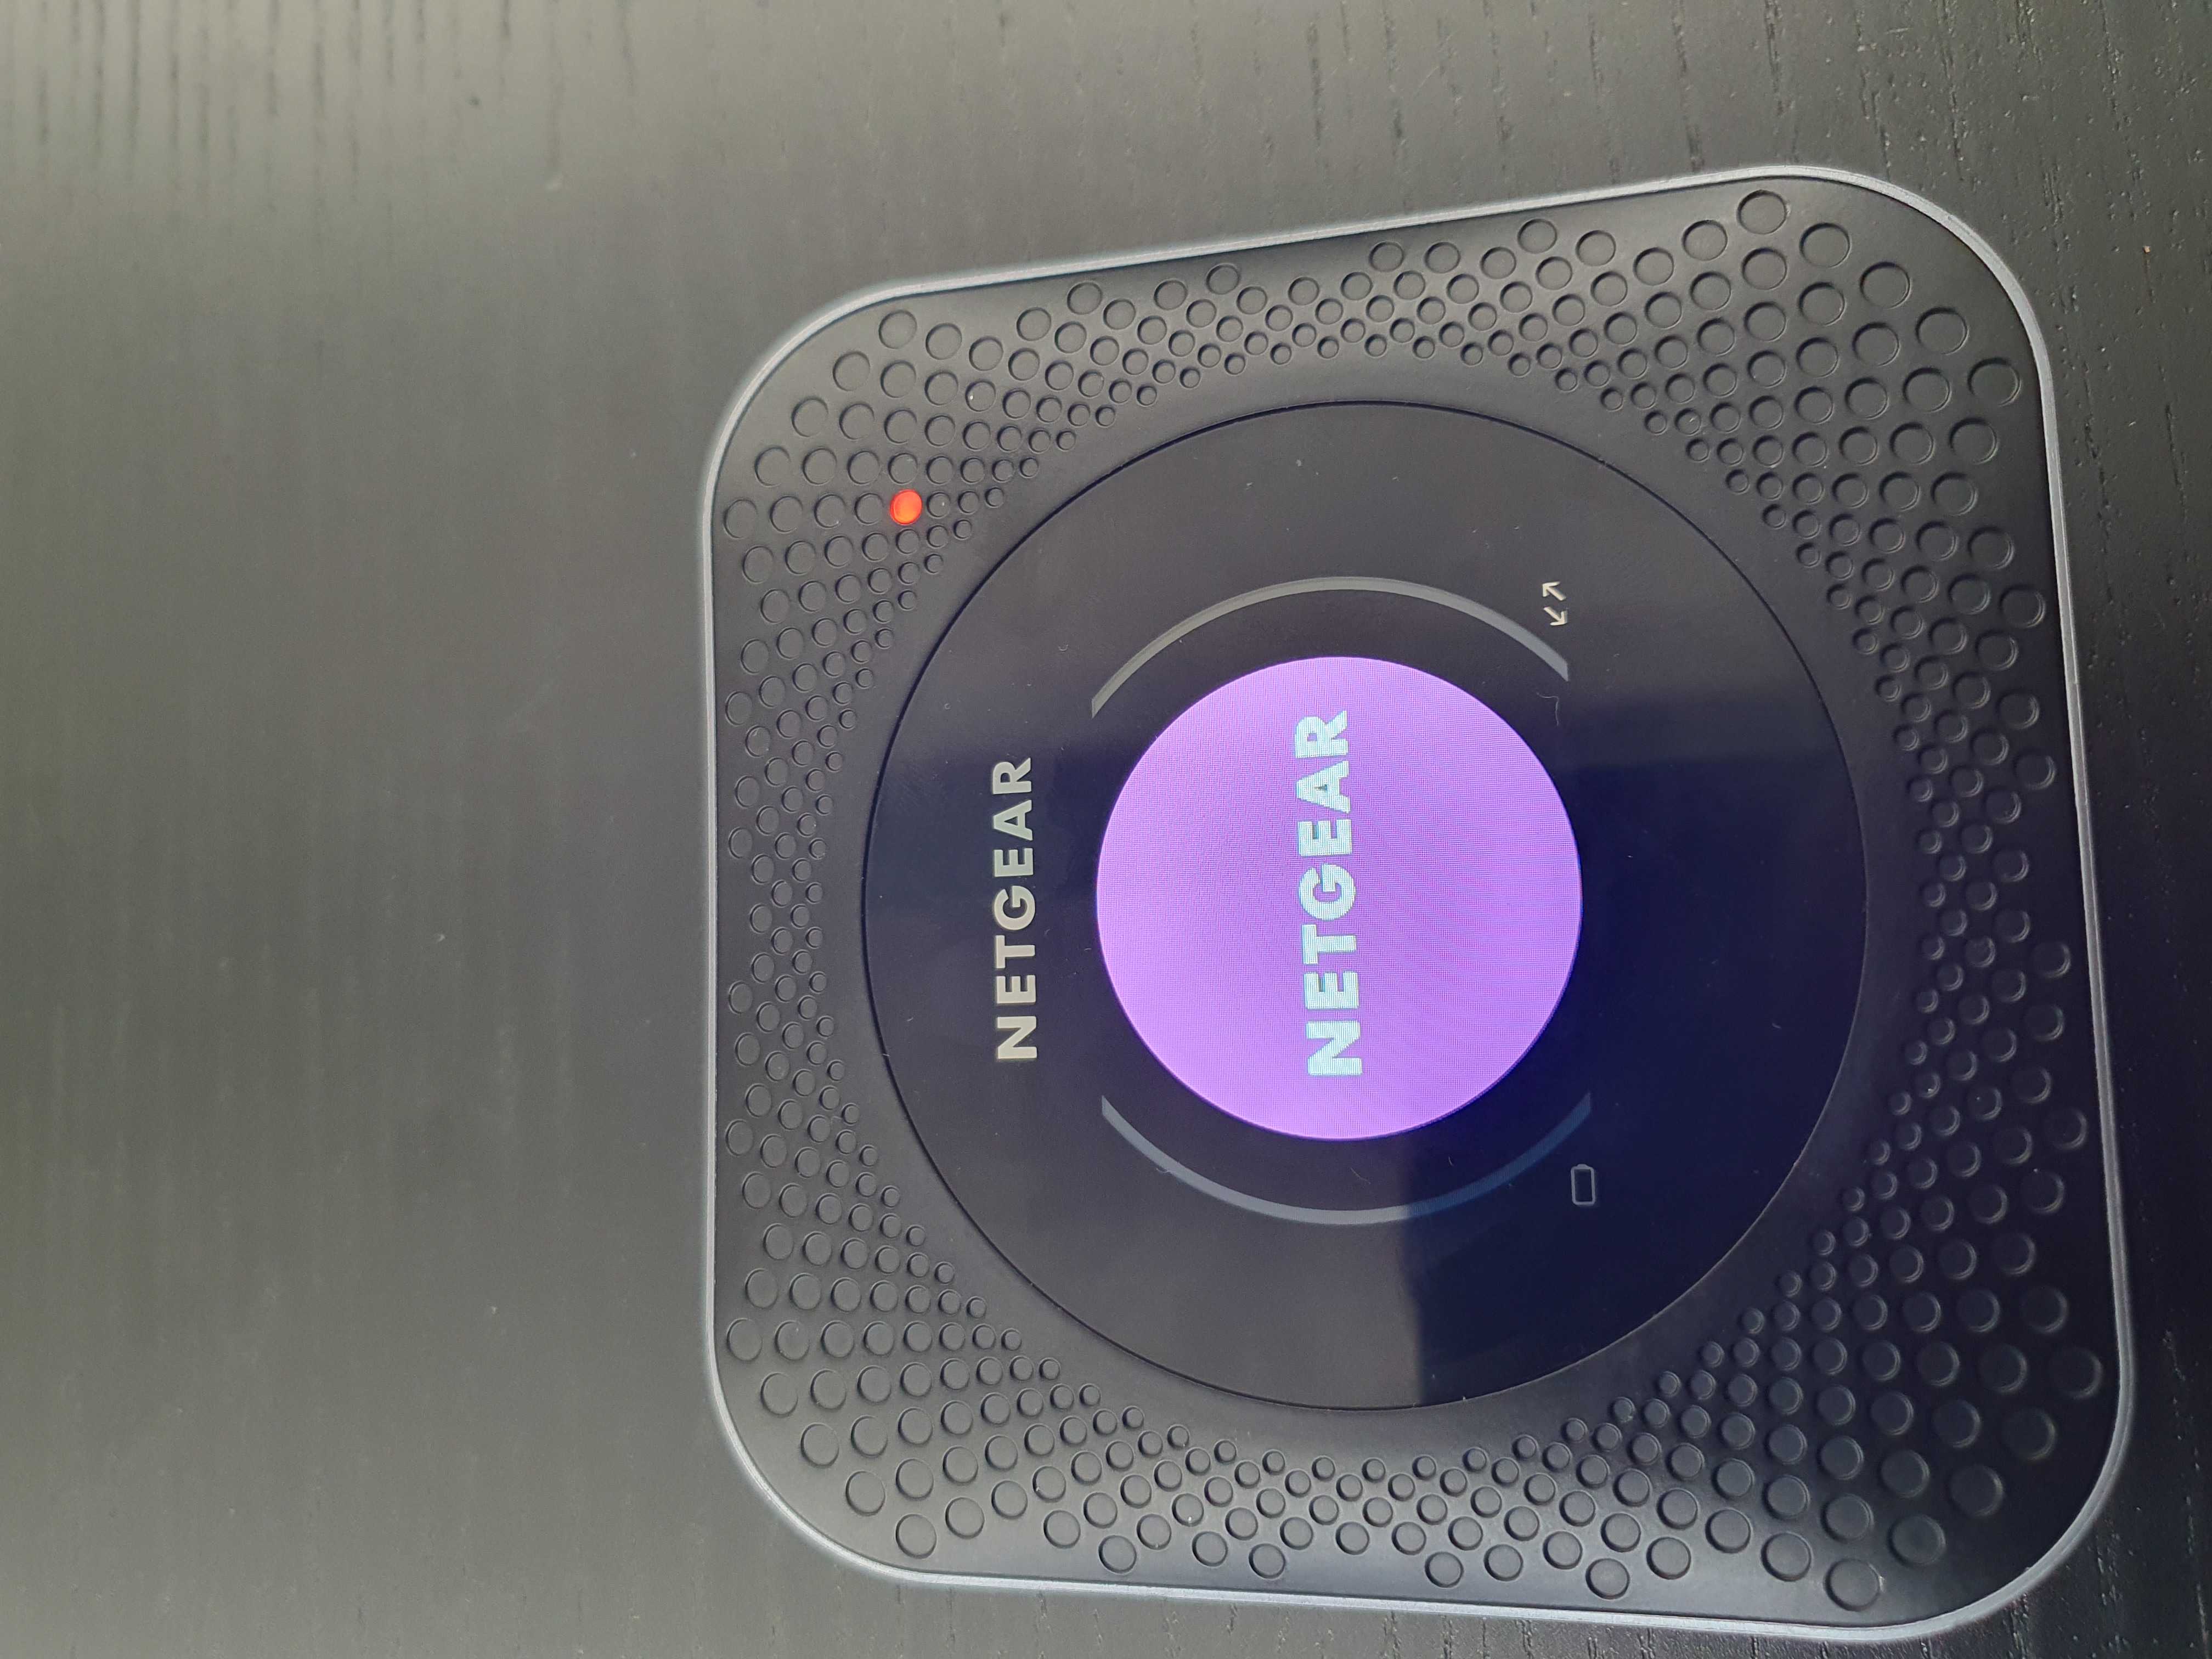
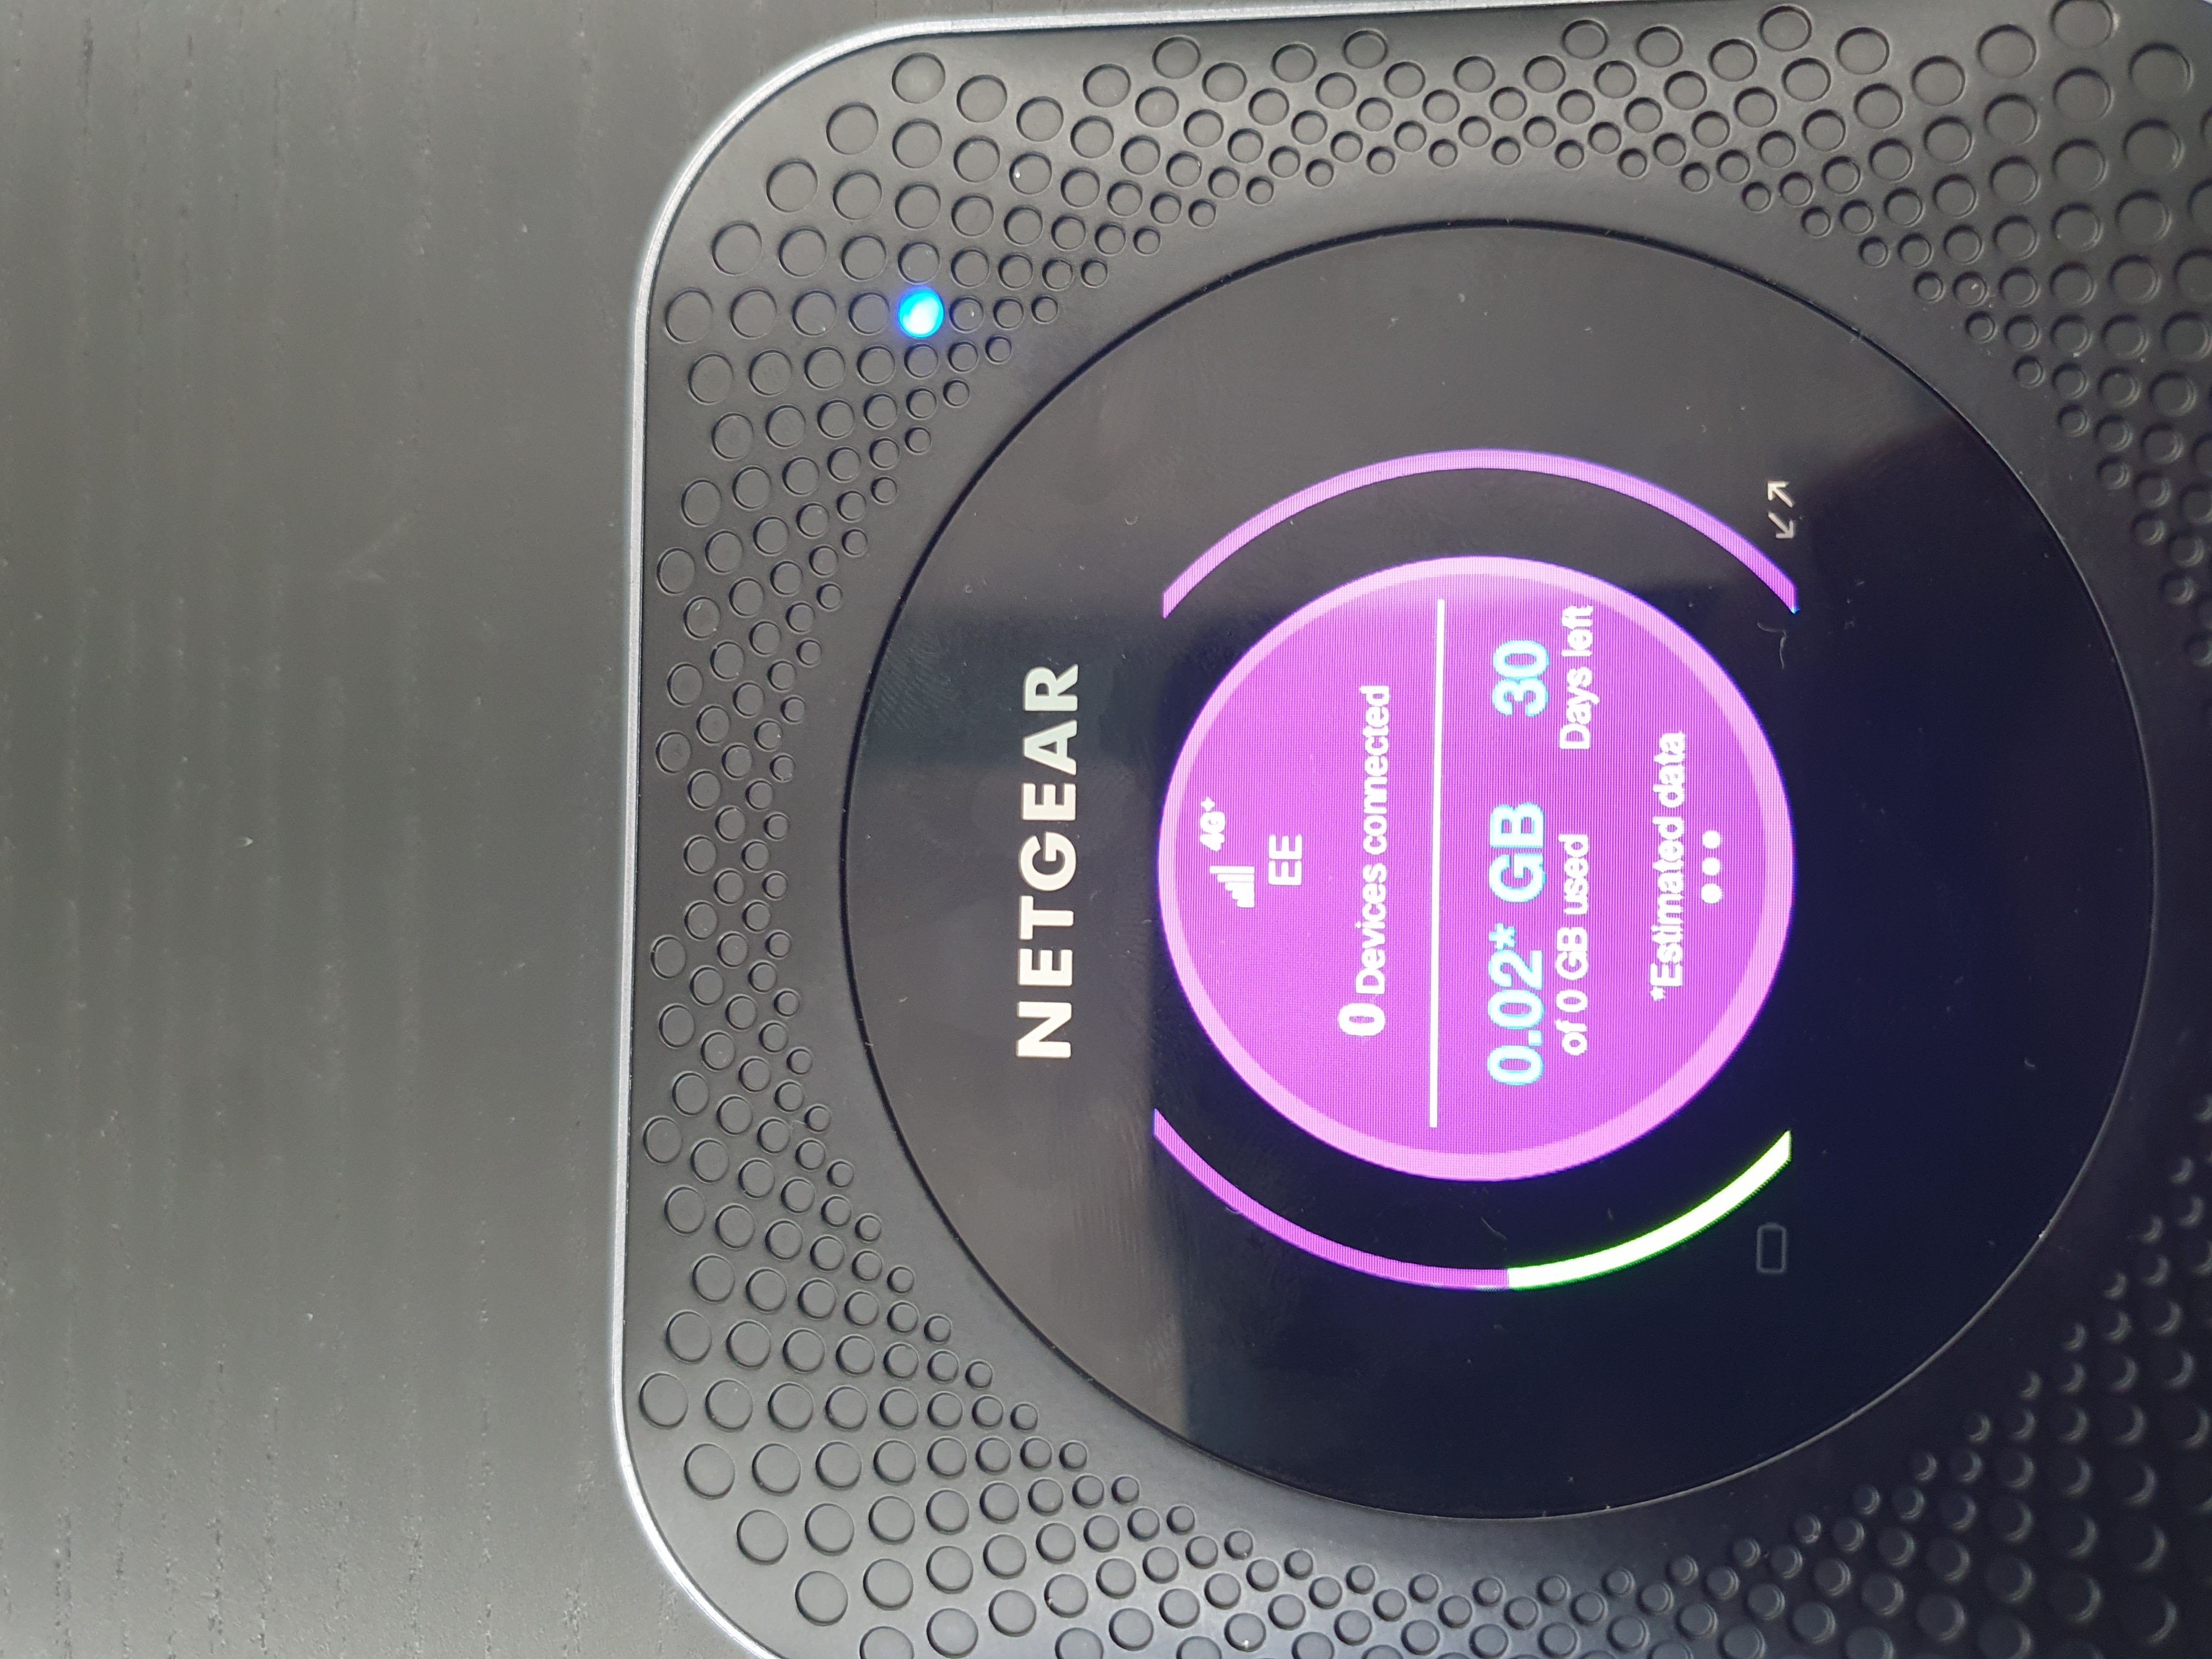
The display shows the NETGEAR logo followed by screens displaying data usage, connection strength, device count, and remaining SIM data package days.
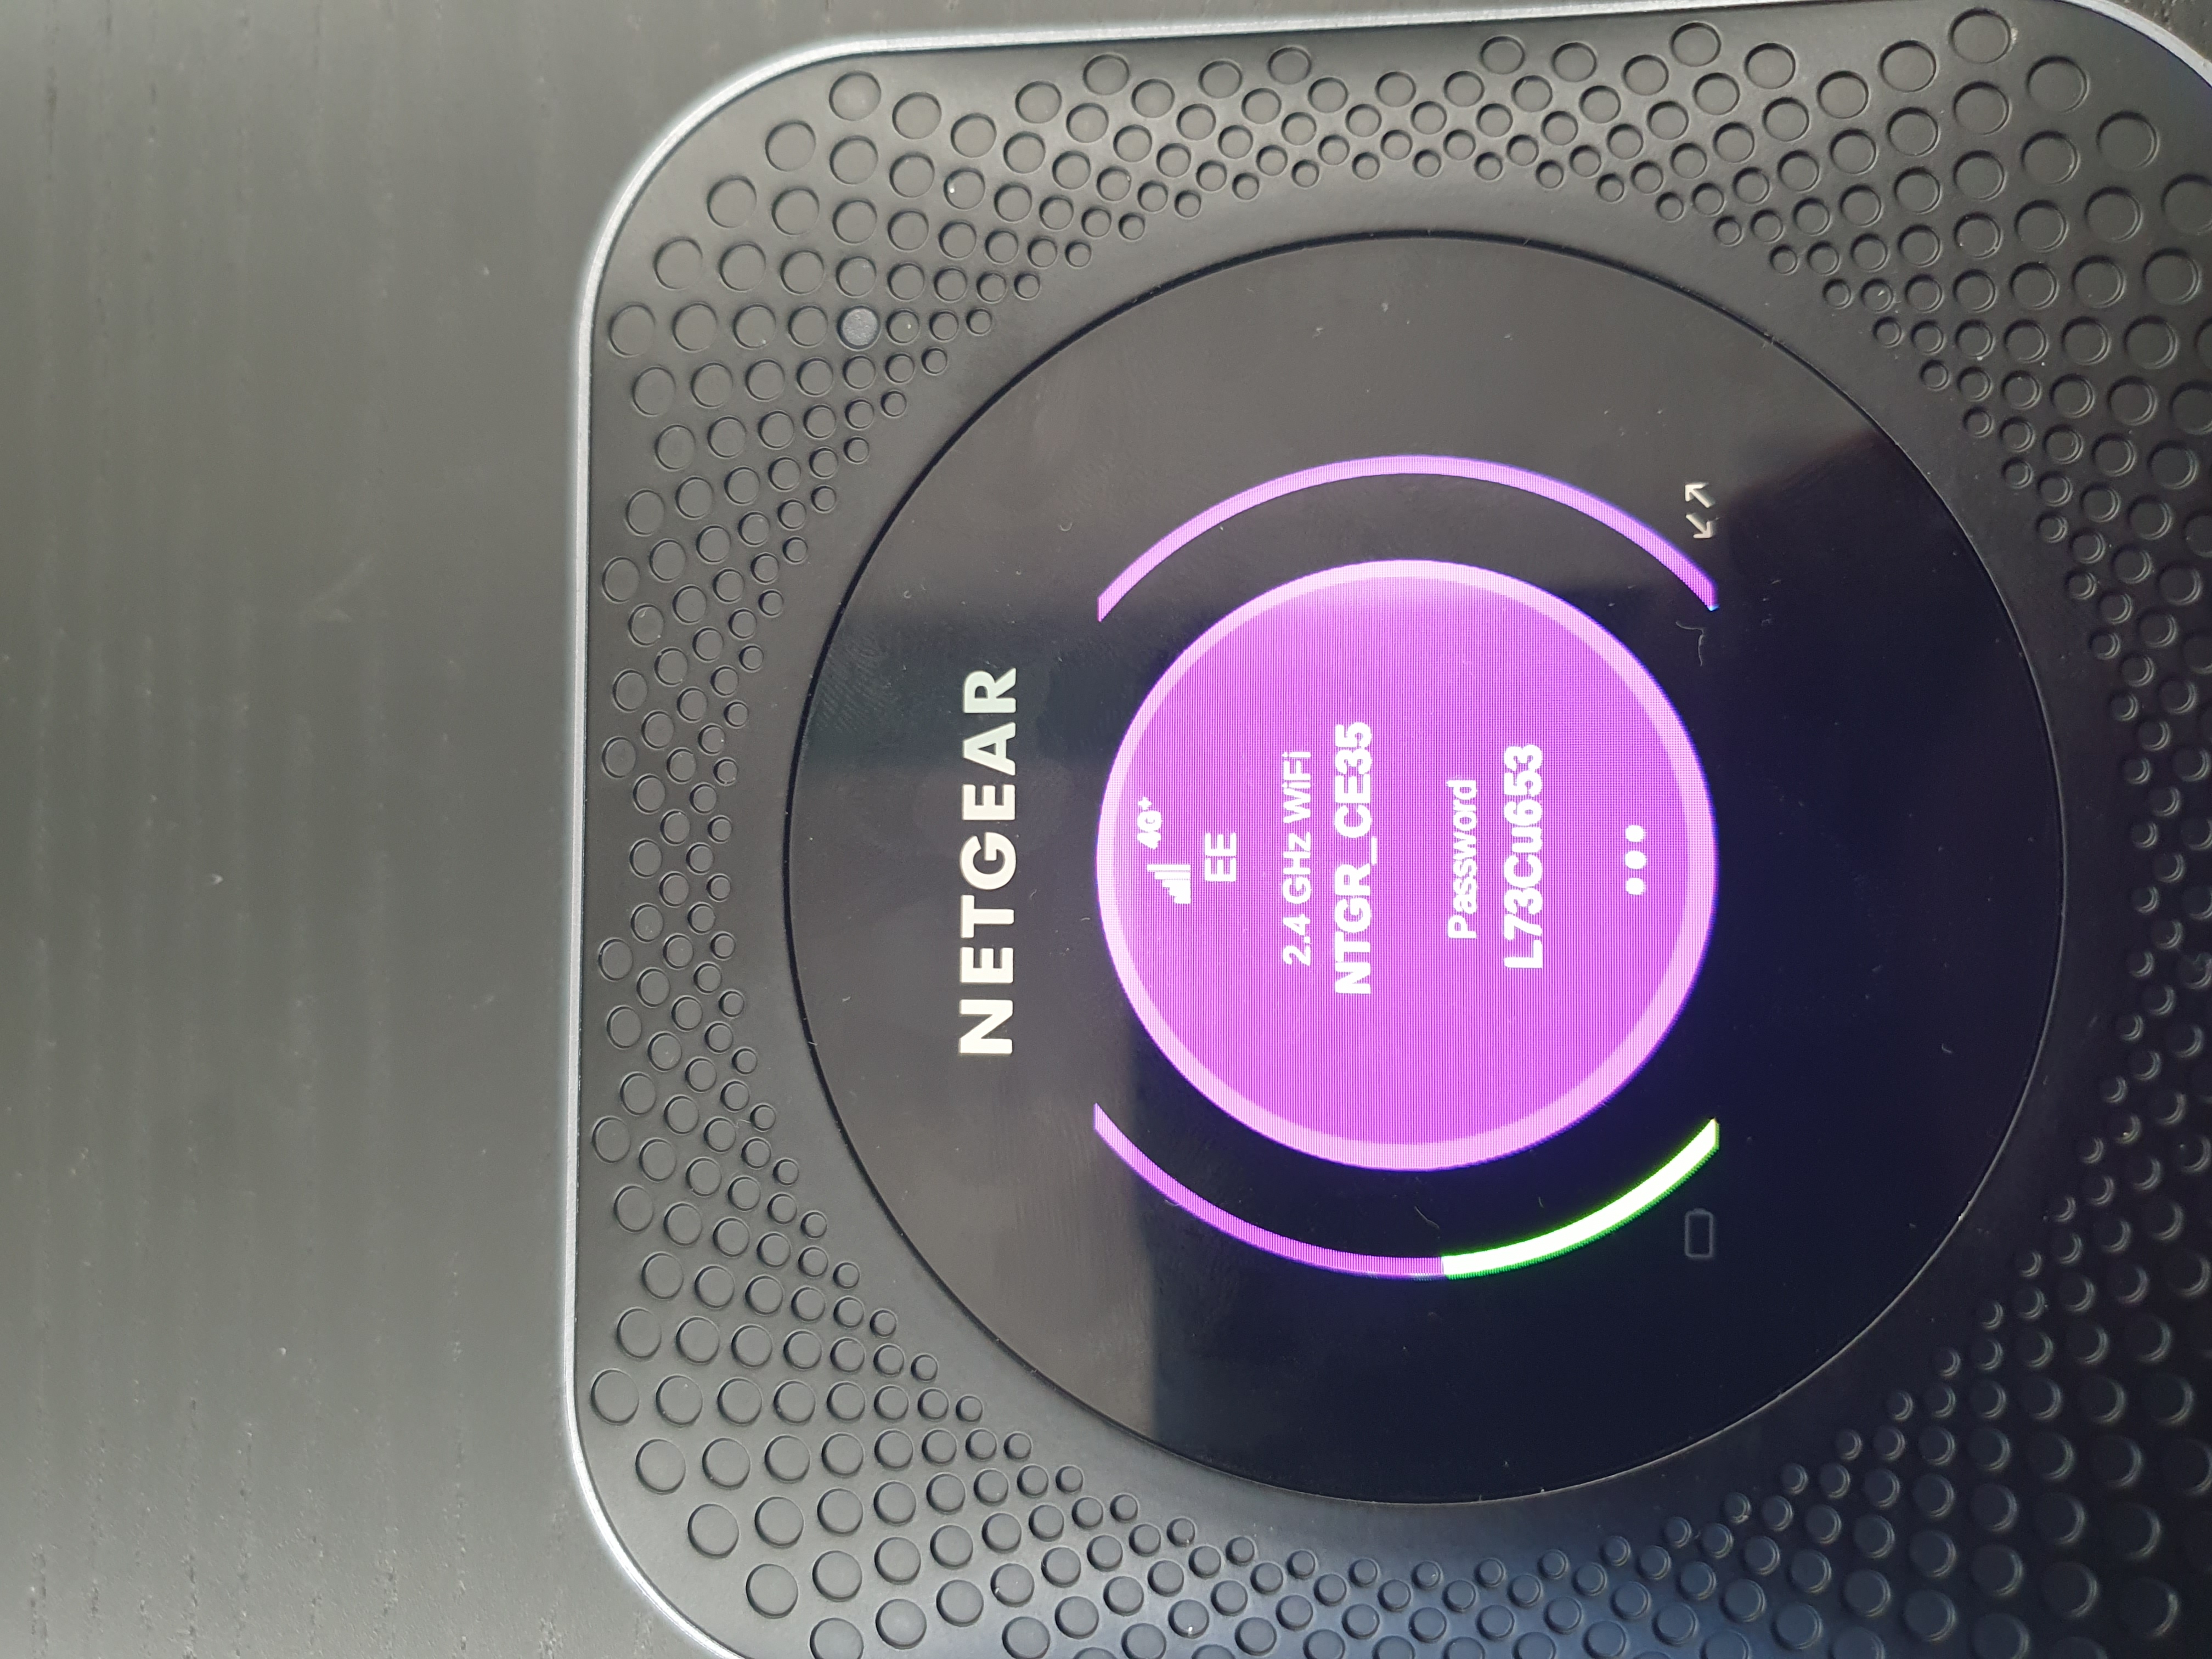
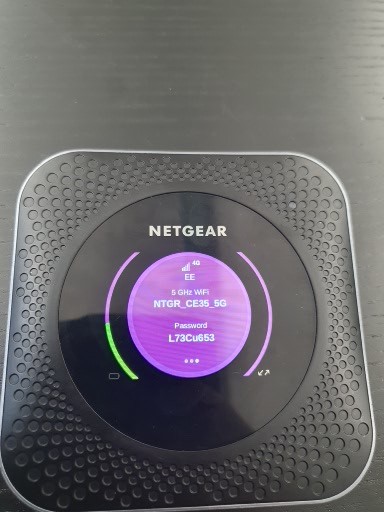
The router broadcasts two WiFi connections:
- 2.4GHz connection — slower speeds, wider coverage
- 5GHz connection — faster speeds, narrower coverage
We recommend connecting to the 5GHz network as this will have faster speeds.
Step 3: Connect to the Router
- Access the WiFi menu on your device.
- Locate and select the WiFi name from the router sticker.
- Enter the Security Key when prompted.


Step 4: Configure Router Settings
You must be connected to the router's WiFi network before proceeding:
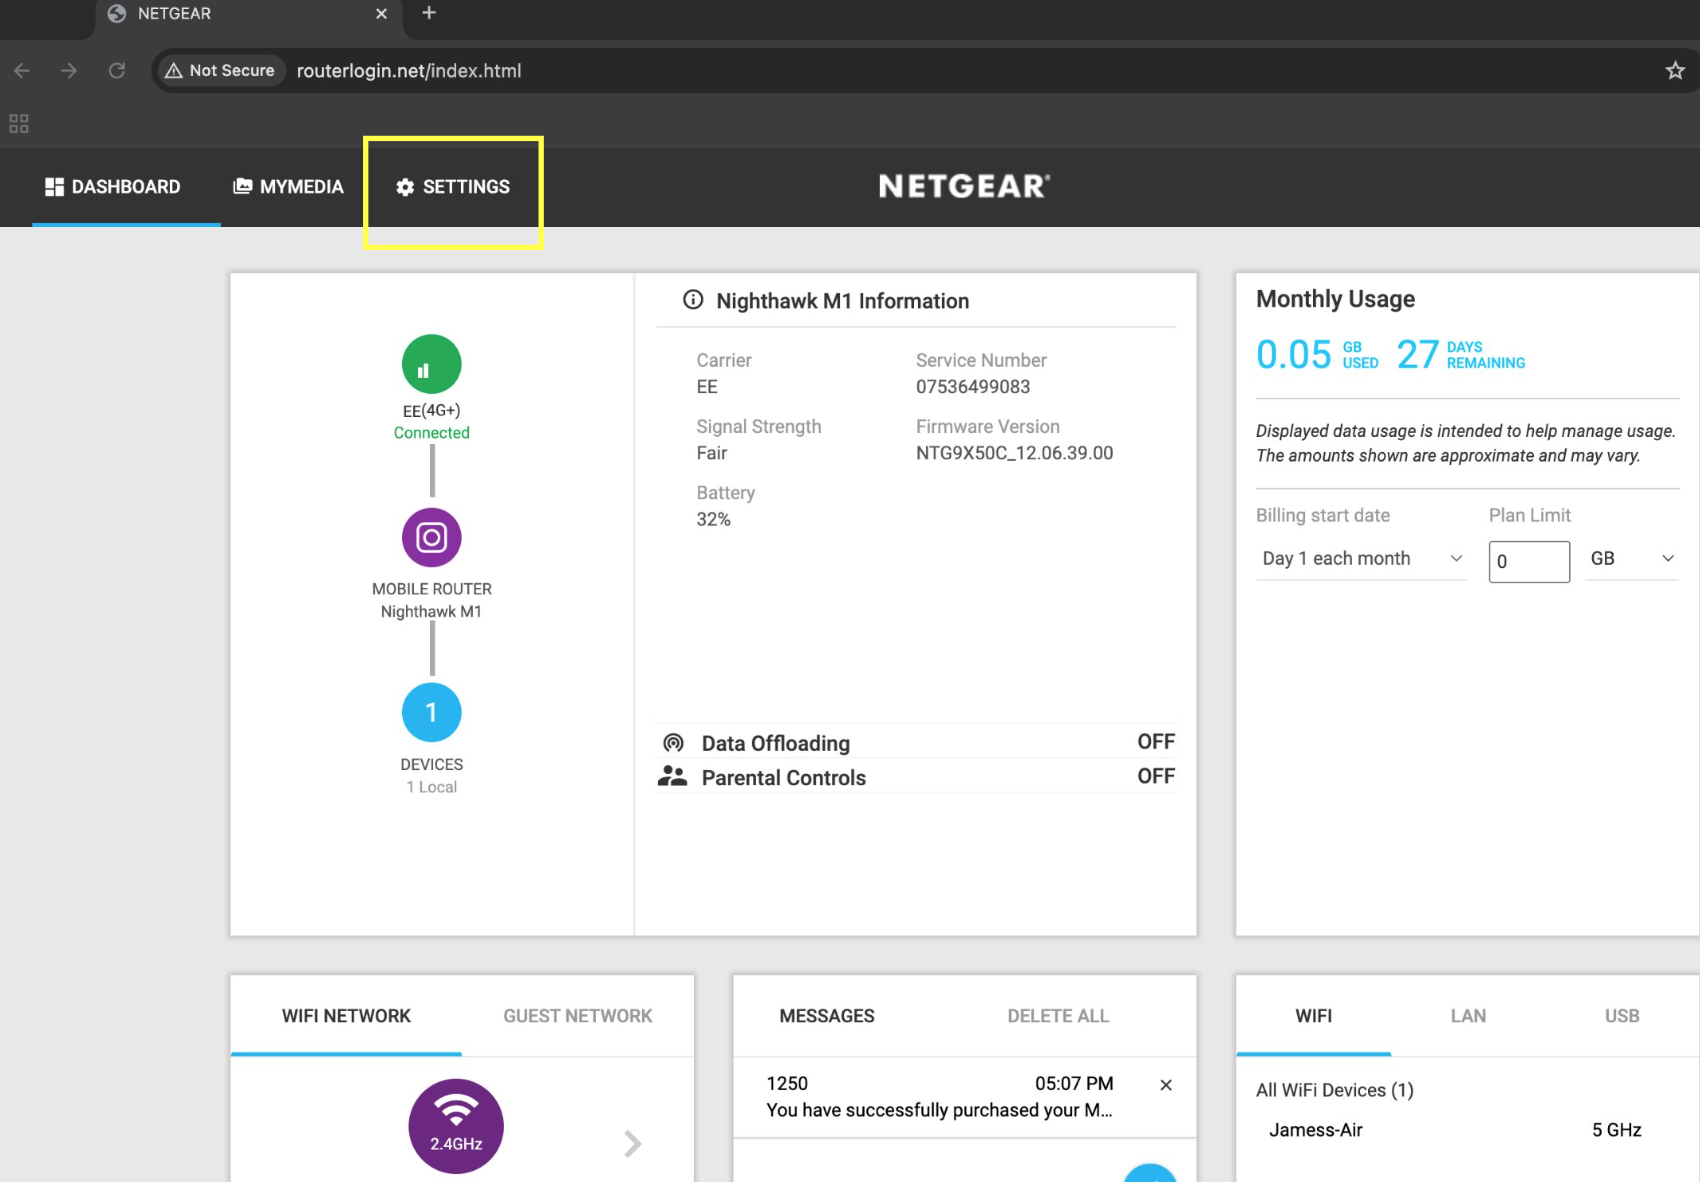
- Open a browser and enter
http://routerlogin.net/index.htmlin the address bar (not as a search query). - Log in using username
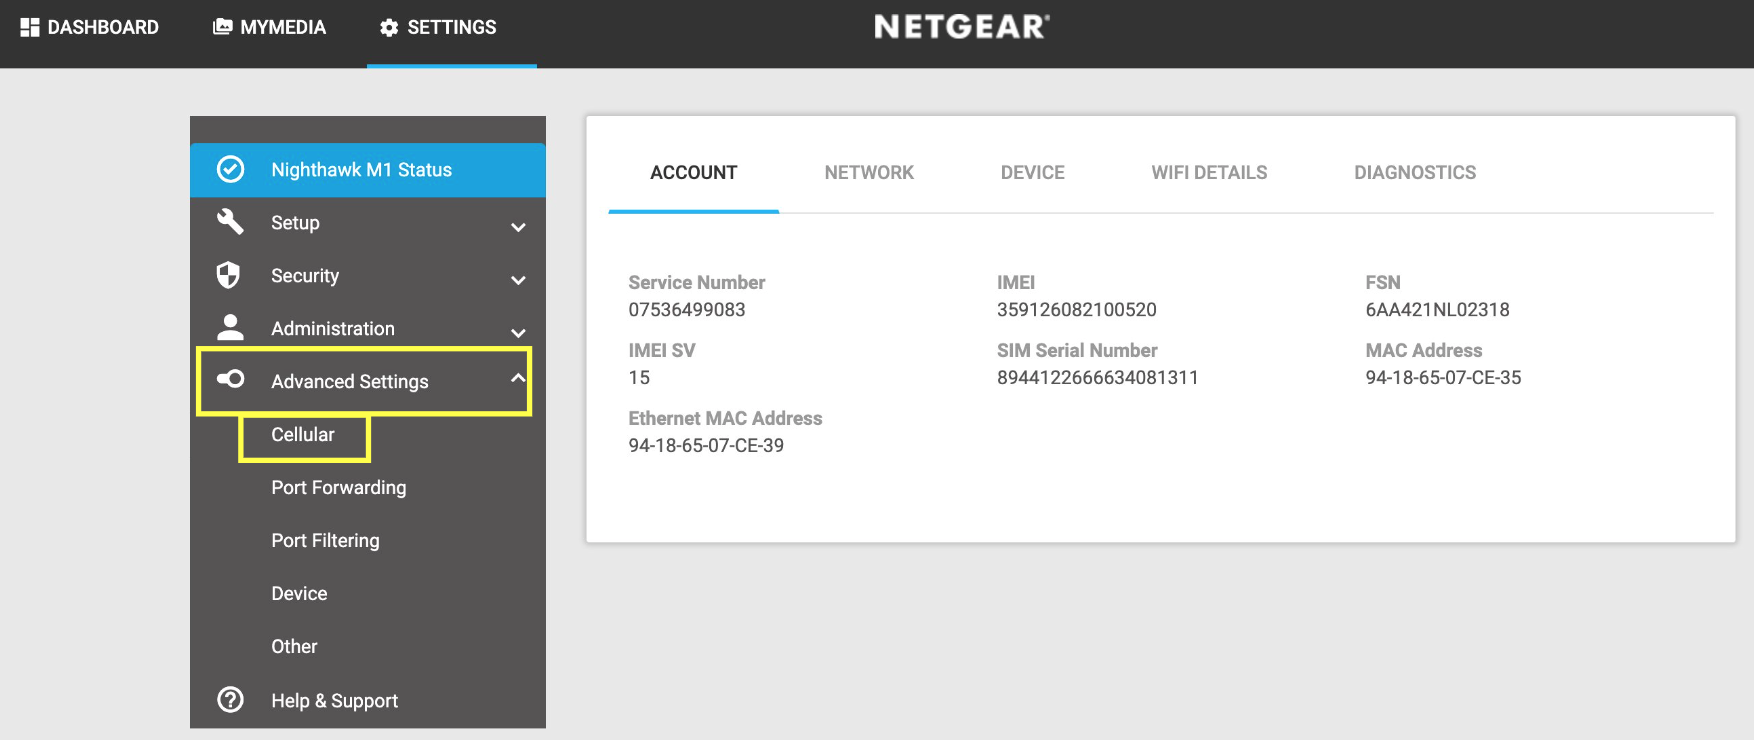
adminand the Admin Password from the sticker. - Select the Settings tab, then the Advanced Settings dropdown, and click Cellular.
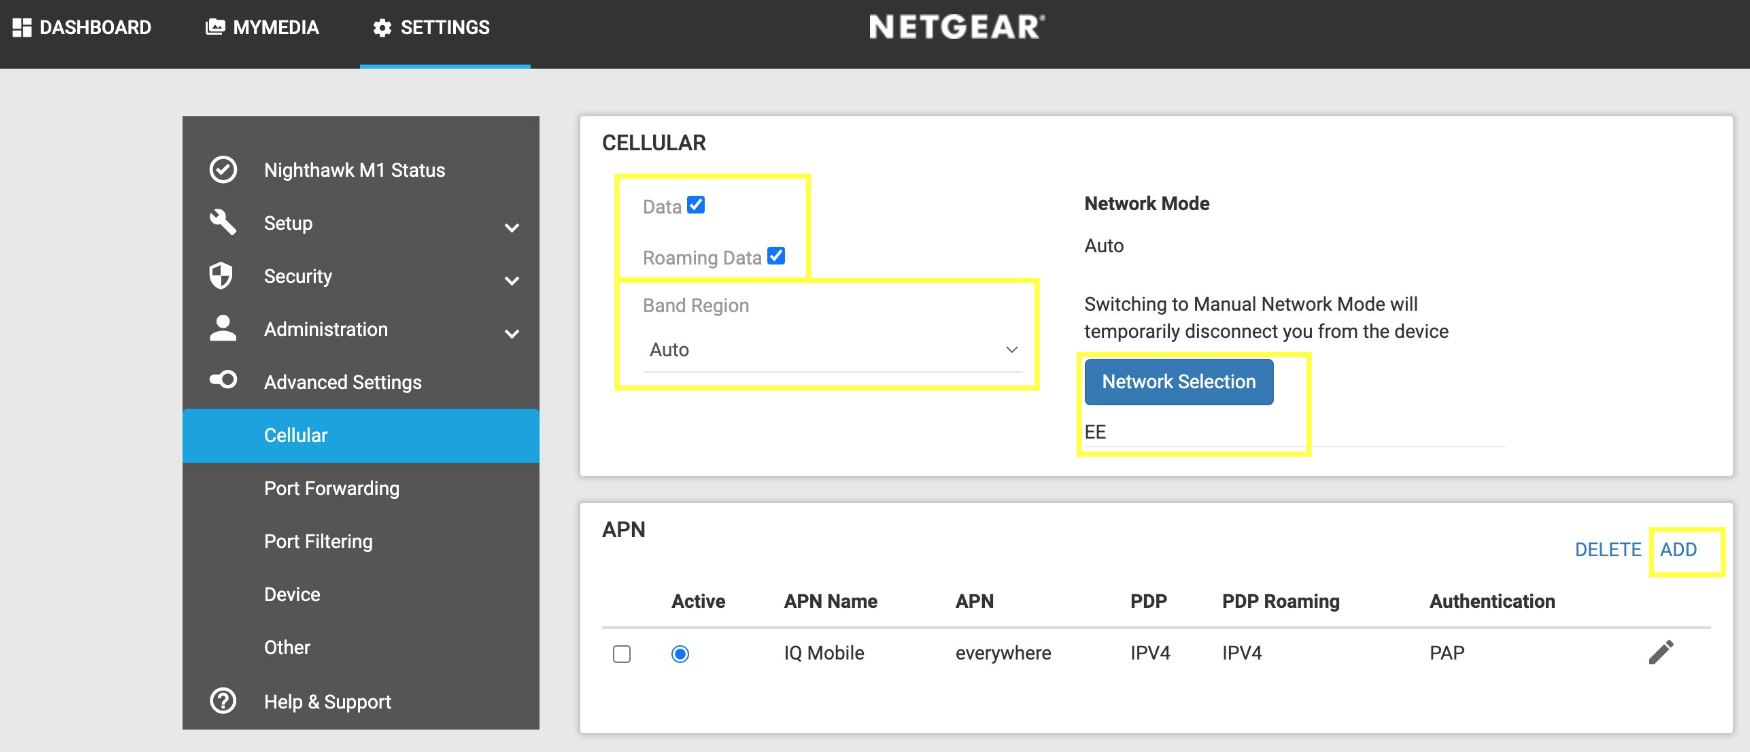
- Enable both Data and Roaming Data checkboxes. You will not be charged for roaming with an IQ Mobile SIM in Europe — our data is a Roam like Home service.
- Set Band Region to Auto and network to EE.
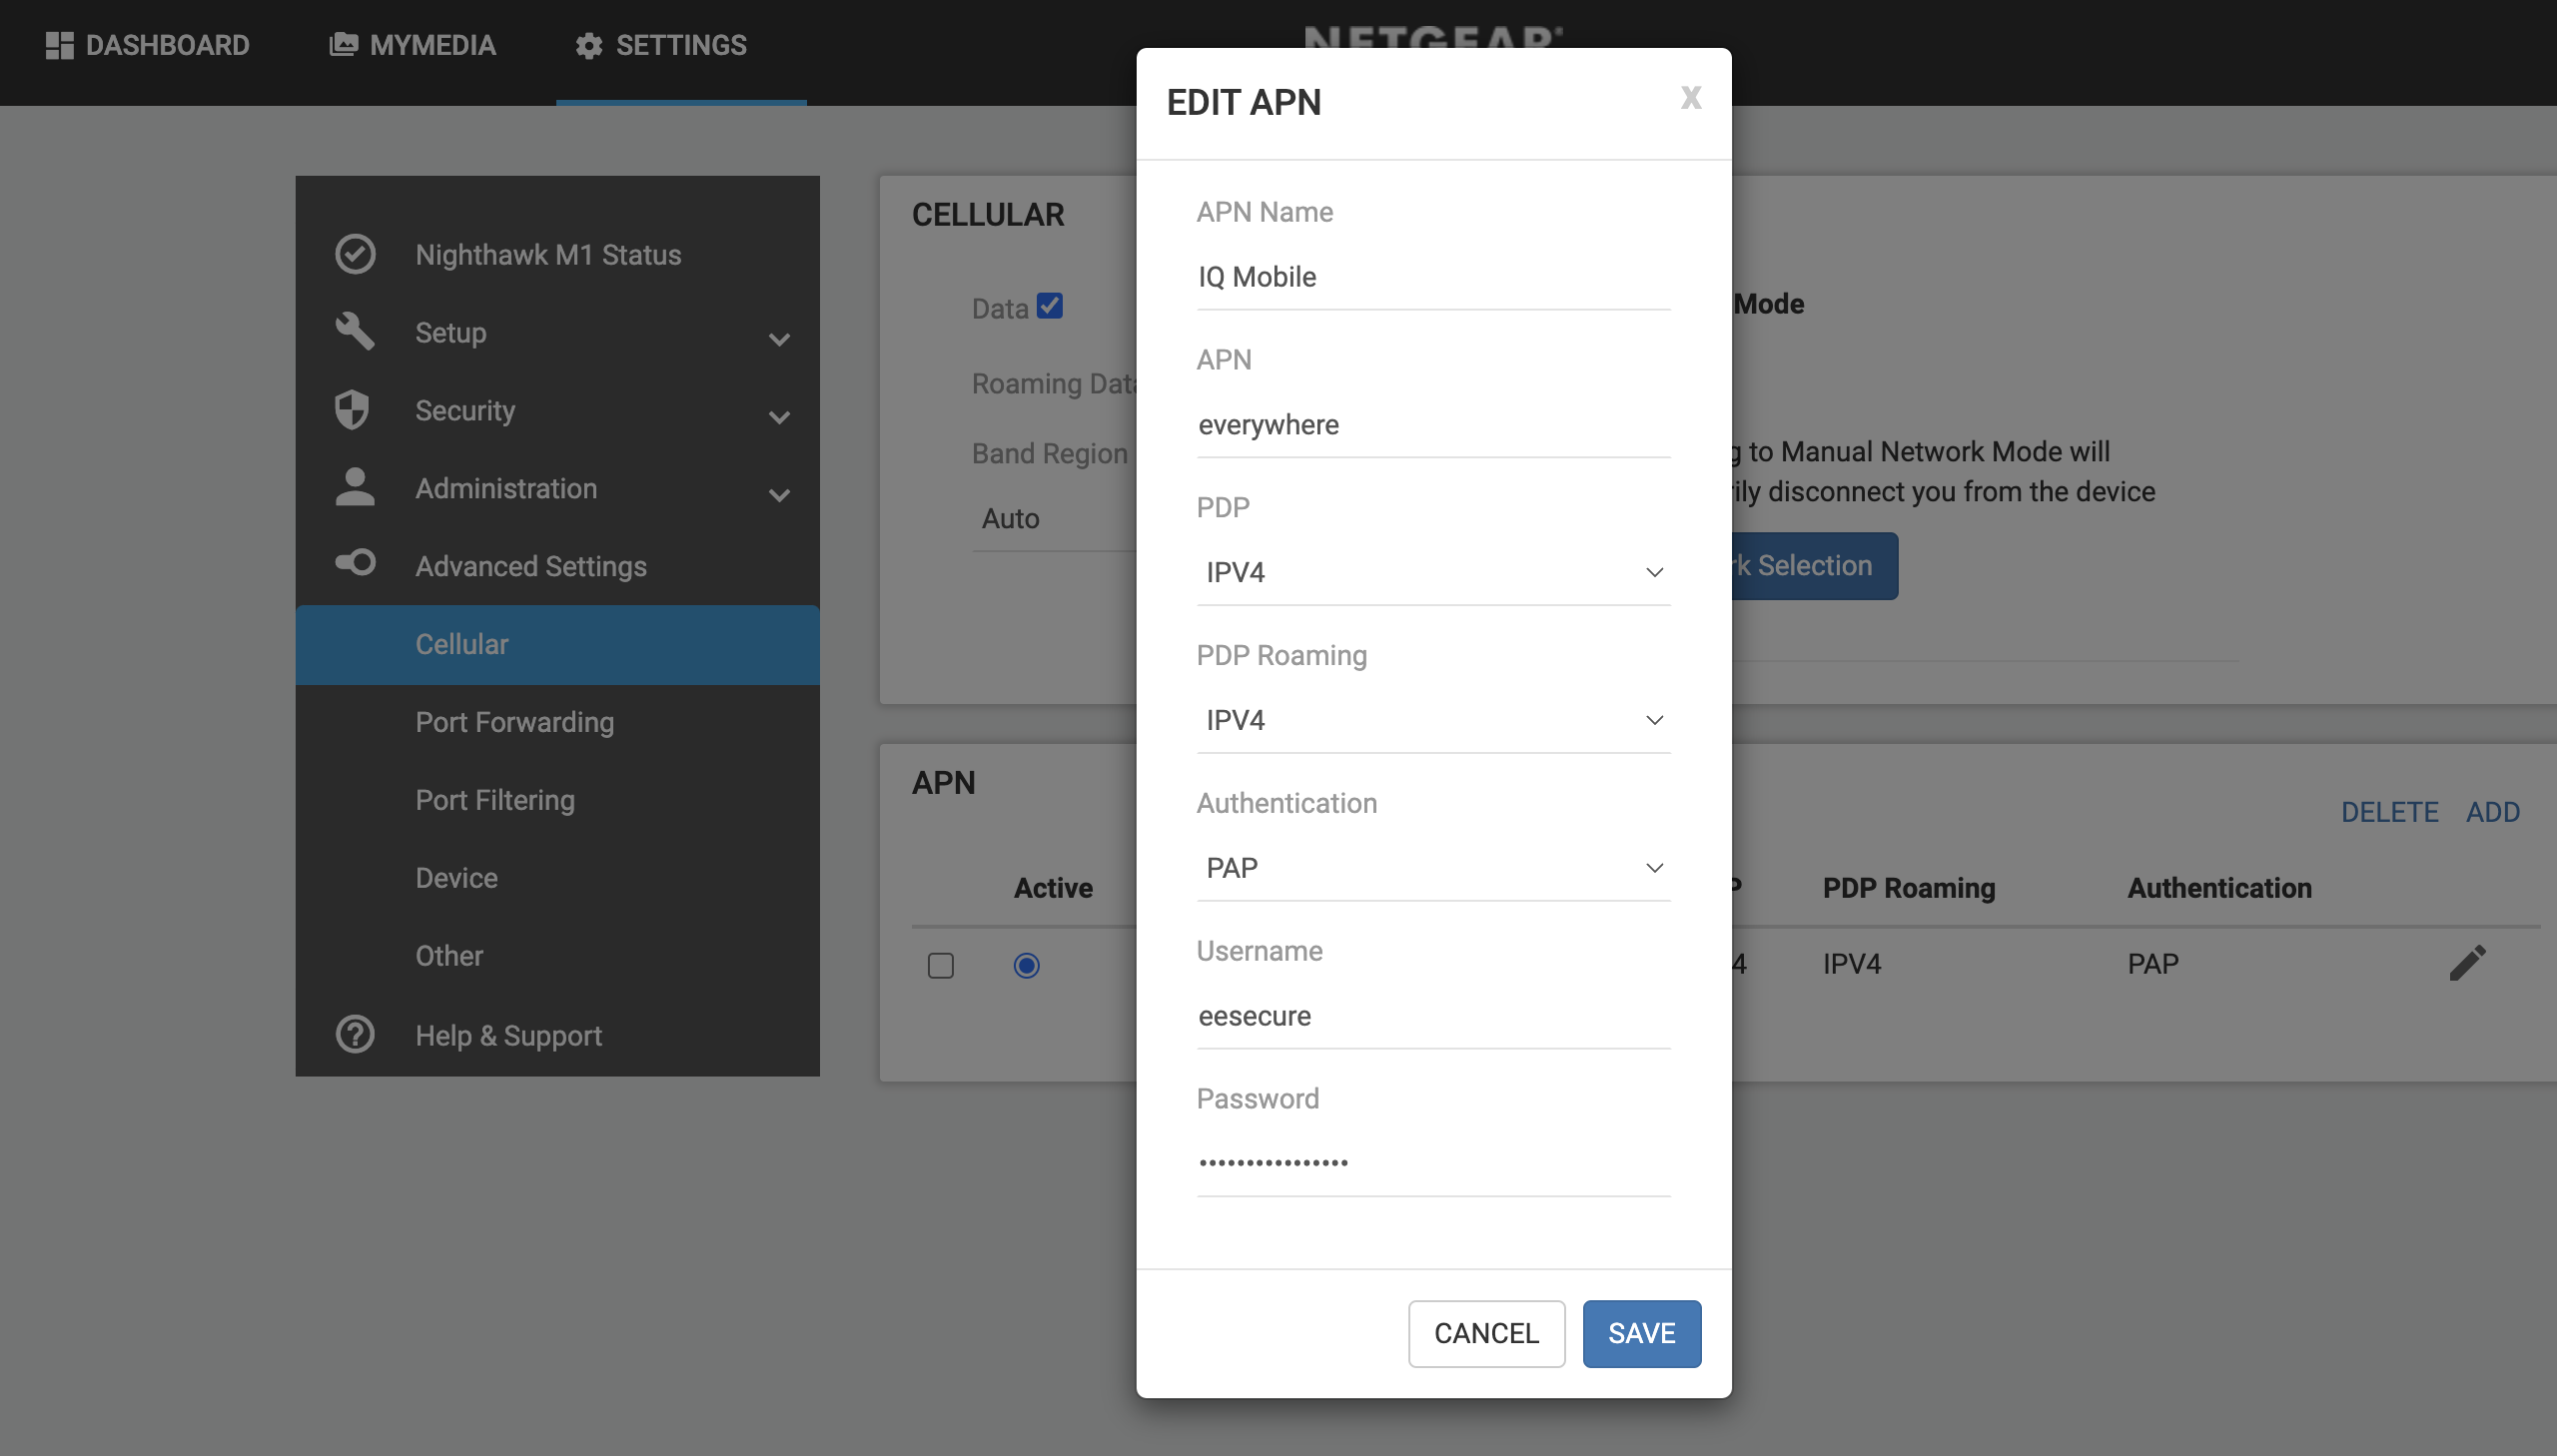
- Add a new APN profile with the IQ Mobile settings below and save.
- Confirm the new IQ Mobile profile is selected, then close the browser.

| Field | Value |
|---|---|
| APN | everywhere |
| Username | eesecure |
| Password | secure |
| Authentication | CHAP or PAP |
Still need help?
Our UK-based team is here for you